
In Part 2 of this series we are going to cover deploying the VMware Skyline Health Diagnostics Appliance.
Step 1: Deploying the OVA
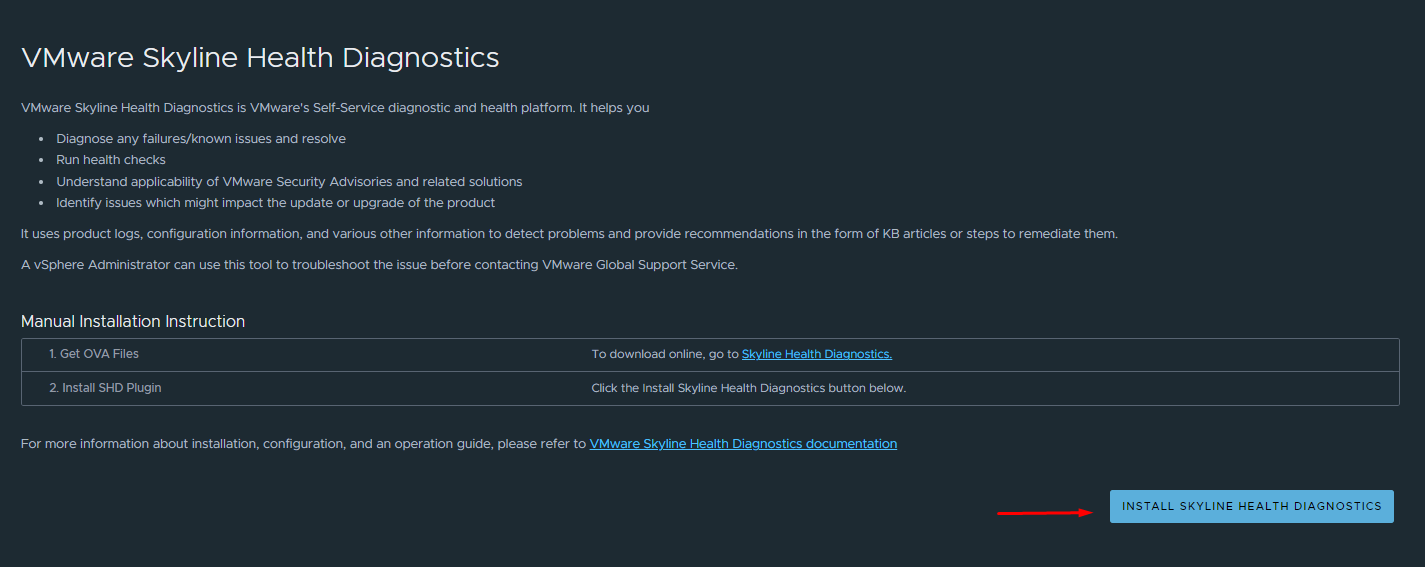
Click on ‘Install Skyline Health Diagnostics‘
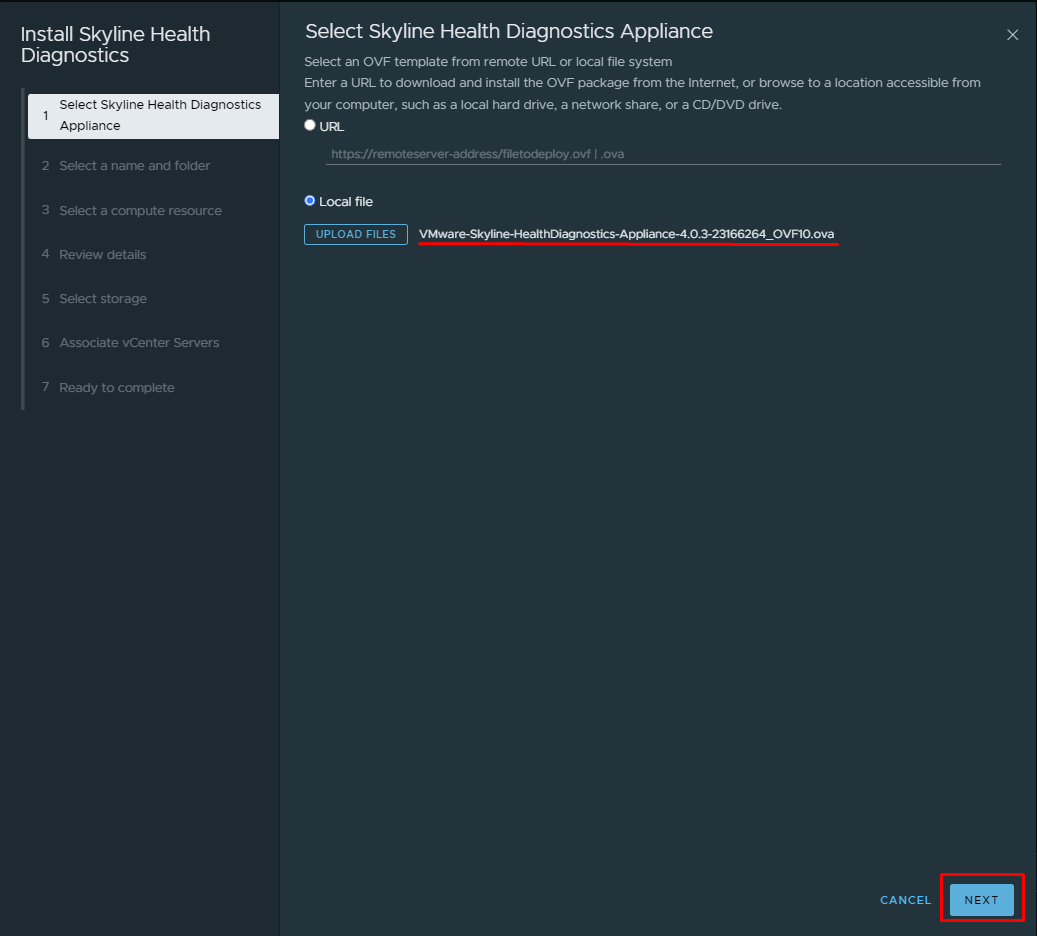
Select ‘Local File’ (This will reference the OVA file we downloaded in the previous post). Navigate to the file location by clicking ‘Upload Files’. Then click ‘Next’
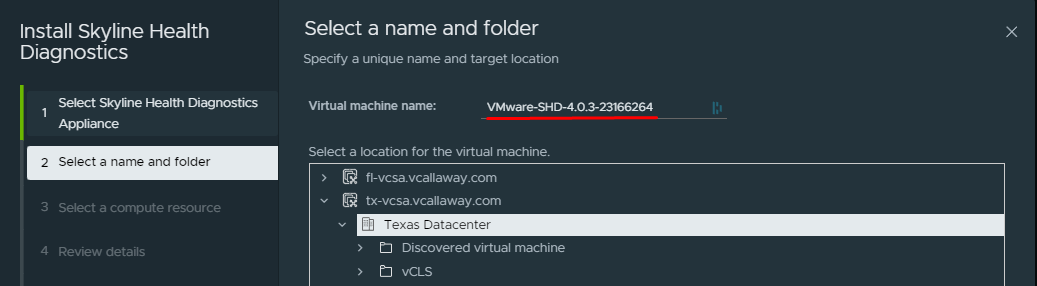
Name the VM (if desired) and select the folder.
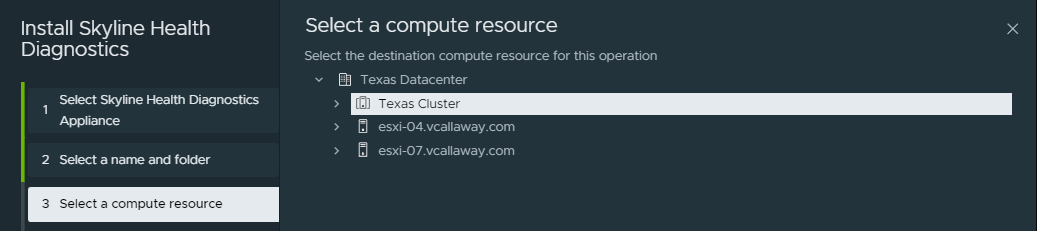
Select the Compute Resource we should assign the appliance, click next.
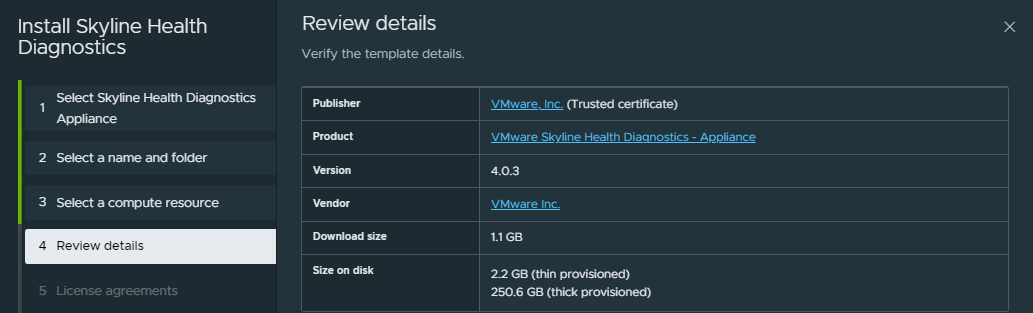
Review the details of the appliance, click next.
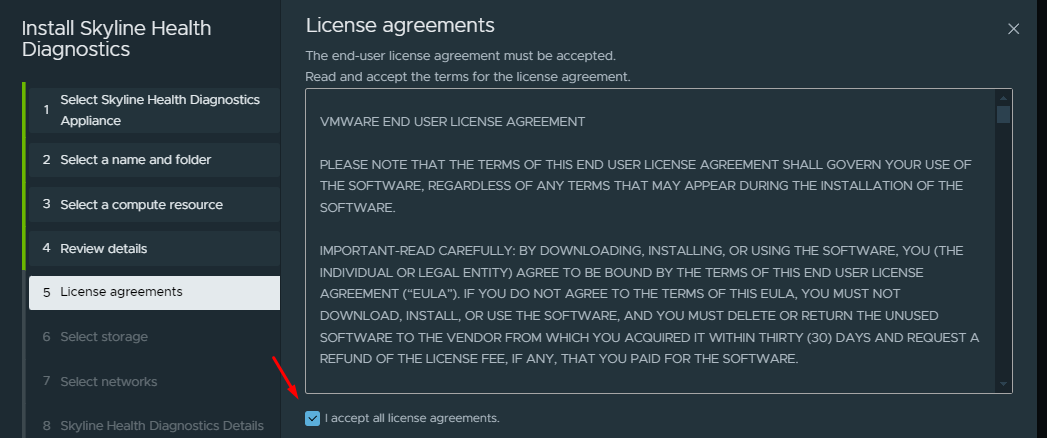
Review and agree to the license agreement, click next.
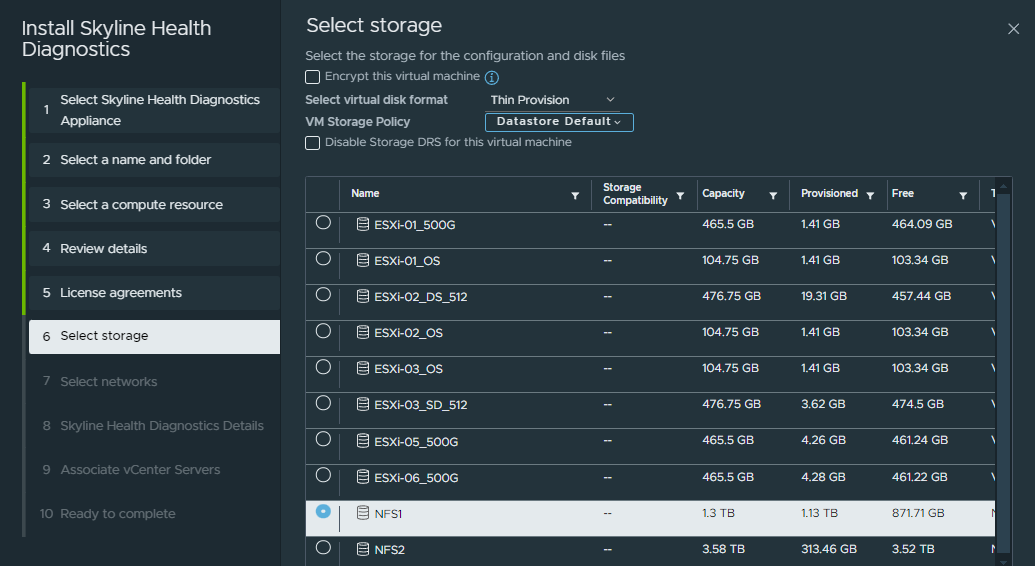
Select the preferred datastore to deploy the appliance to.
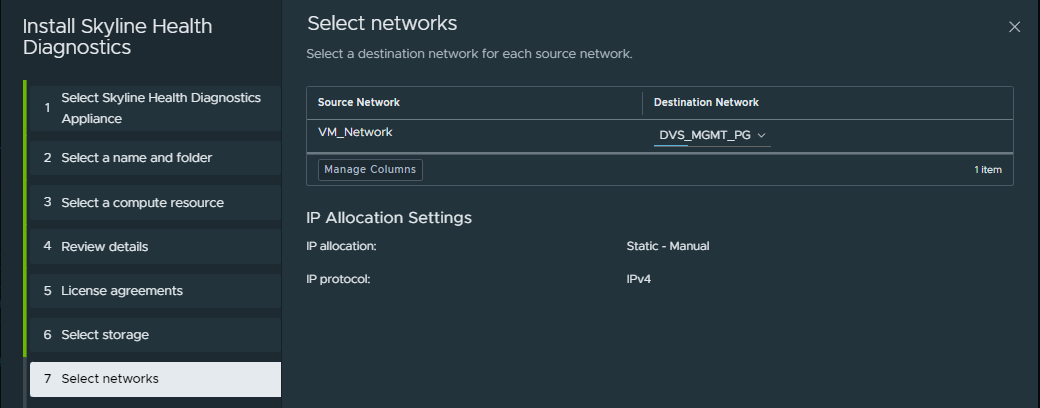
Configure the destination network we want the appliance to be assigned to.
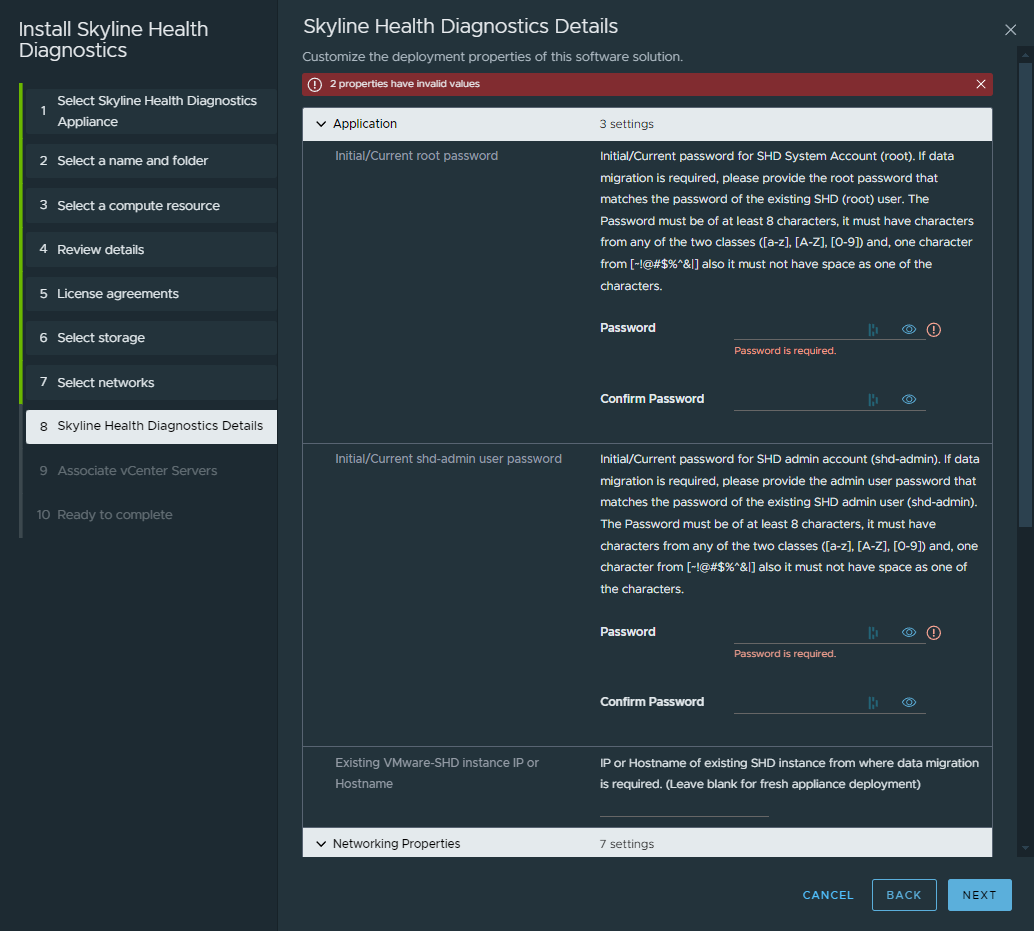
We need to fill out a few details here:
- Root password
- SHD-admin password
- Existing SHD IP/Hostname. (Leave blank, if first SHD deployment)
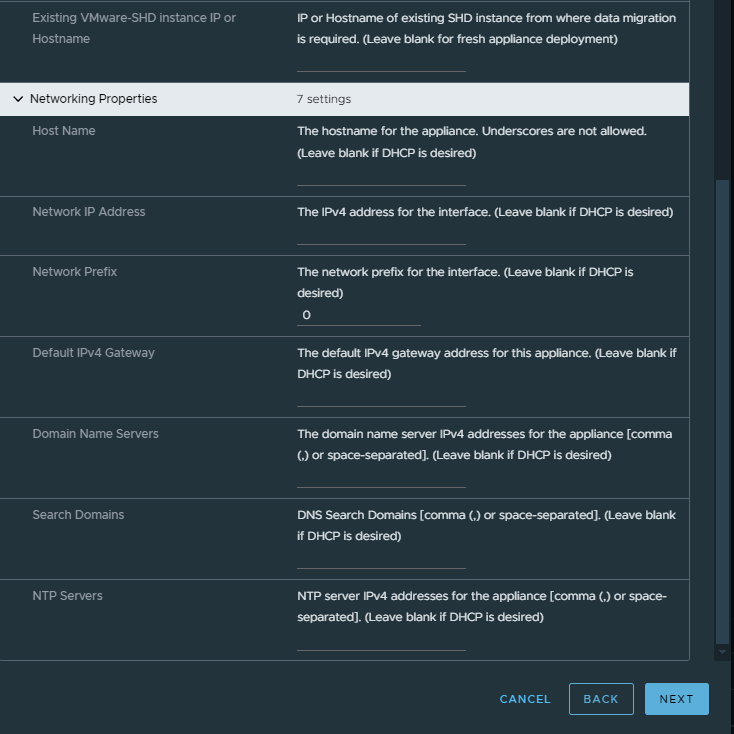
- Hostname (make sure DNS is setup properly to resolve hostname/IP).
- IP address
- Network prefix (subnet in CIDR)
- Default Gateway
- DNS Servers
- Search Domain
- NTP server(s)
Once complete, click ‘next’.
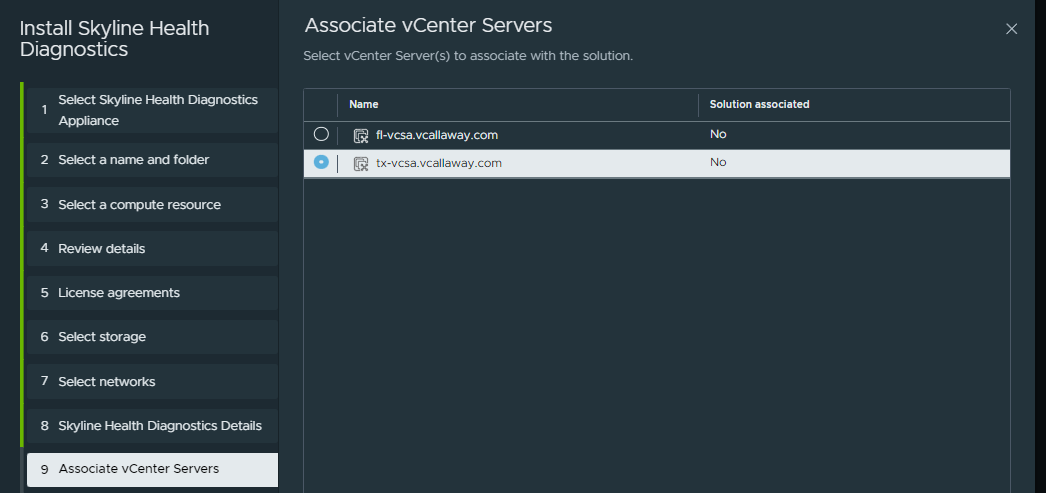
Next we’ll associate the appliance with a vCenter Server then click ‘next’.
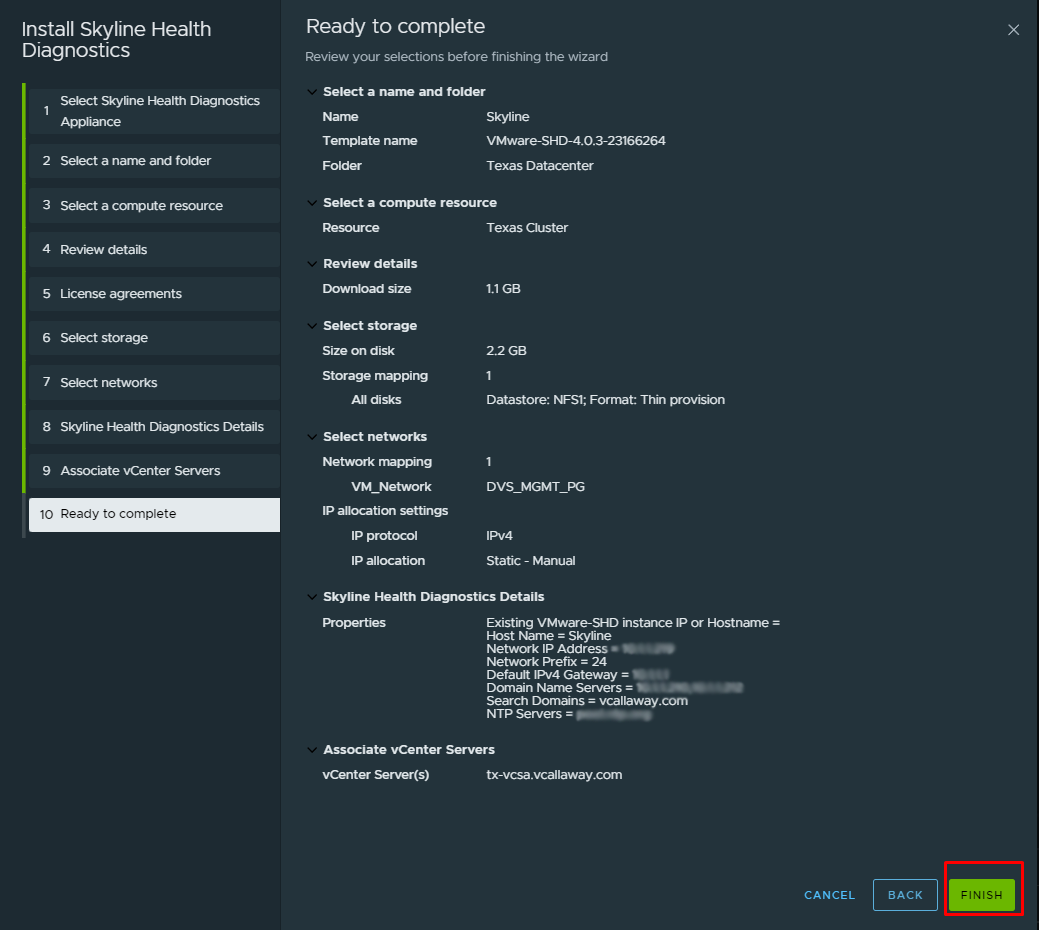
Review all selections and click ‘Finish’
Now, the appliance will be deployed to the environment in a powered off state.

In the next post in this series we’ll power the appliance on and continue with the configuration.