
Configuring vSphere Replication – Site 1
Let’s continue on to finish the deployment in Site 1
Previous posts in Series:
Deploying and Installing vSphere Replication – Site 1
Step 1: Navigate to: https://IP_or_hostname_of_rep_appliance:5480
Login with ‘root’ and password we set during the deployment of the replication appliance.
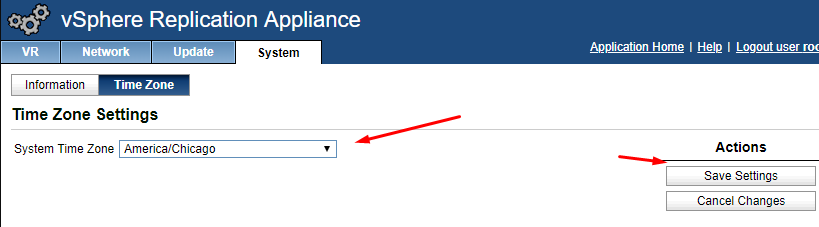
Step 2: Time Zone, Network Review, SSO Lookup
Verify time zone is correct.
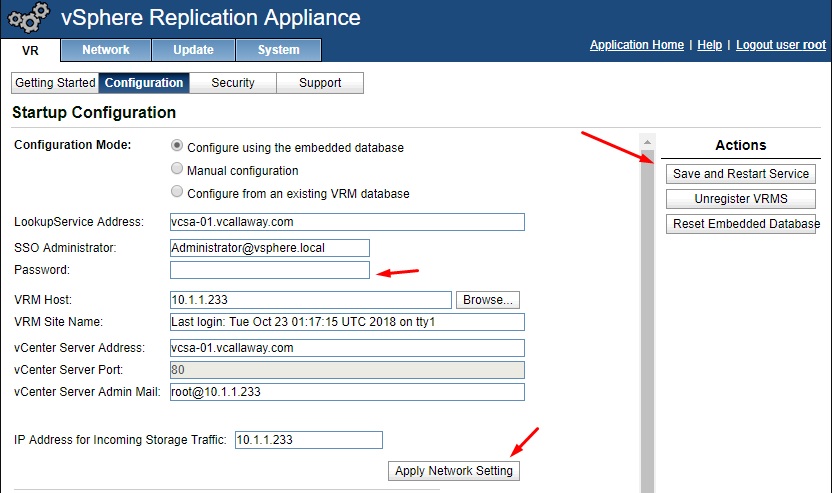
Enter the password for vCenter, Apply Network Settings and then Save and Restart Service.
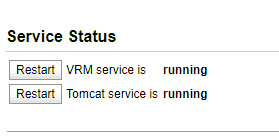
Once complete, you should see a message similar to the following:

Make sure all the services are running below:
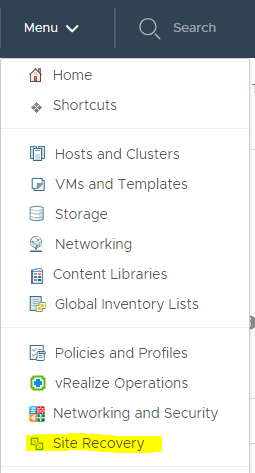
At this time we may log out of vCenter and log back in to verify we can see vSphere Replication in vCenter.
If you receive a banner at the top of the screen stating to log out and back in again, please do so. That means the plugin has successfully been installed.
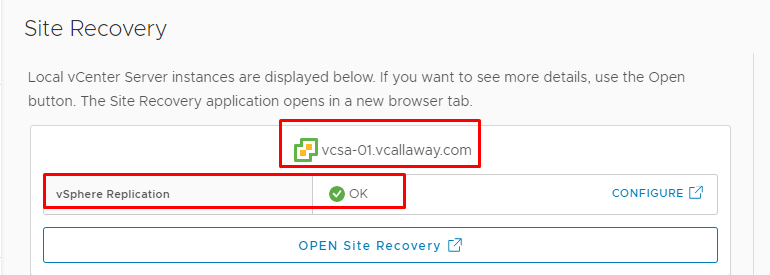
Success! We will configure it a bit later in this series. Let’s move onto the next part which is installing Site Recovery Manager 8.1