
Installing Site Recovery Manager 8.1 – Site 1
— Previous Posts in Series —
Prerequisites & Information:
Site 1 : vSphere Replication
Deploying & Installing vSphere Replication – Site 1
Configuring vSphere Replication – Site 1
Note: Site Recovery Manager is still being deployed on a Windows VM at the time of this posting. Make sure you have a Windows Server VM and the installer for SRM. Make sure the Windows VM has a static IP (recommended), is domain joined and DNS is setup properly.
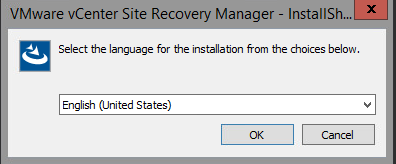
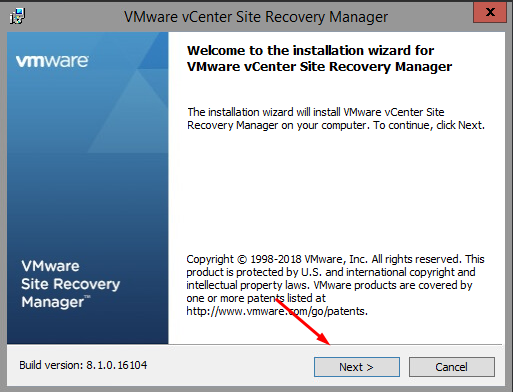
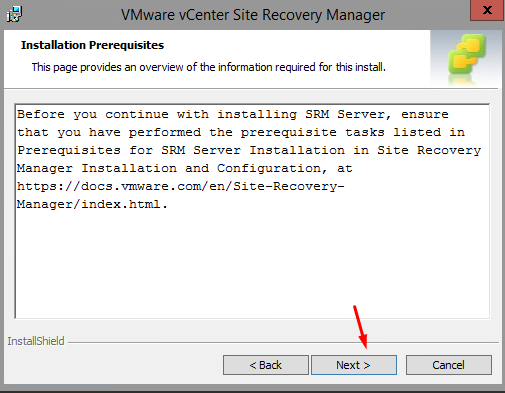
Step 1: Launch the EXE for SRM and follow the prompts.
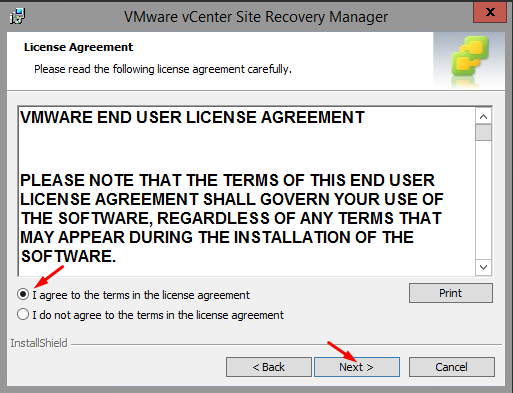
Agree to EULA, if you do. 😉
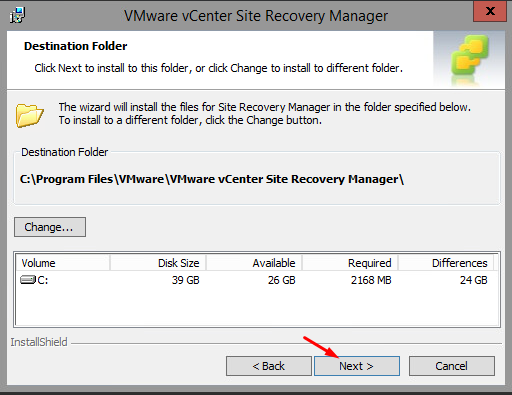
You may change the location of the installation if you wish.
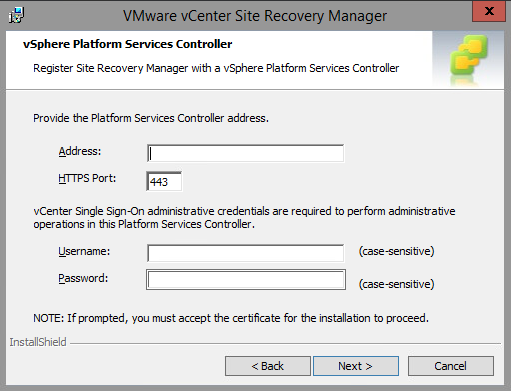
Below, enter the address for the PSC (embedded or internal). Finally enter the credentials for SSO. This will be the PSC (if external) or VCSA if internal.
Accept the certificate.
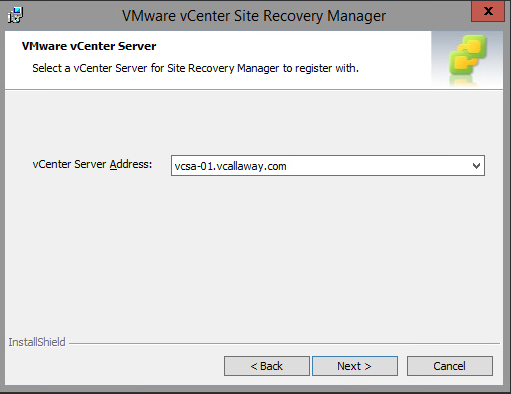
Verify we’re connecting it to the correct vCenter or PSC.
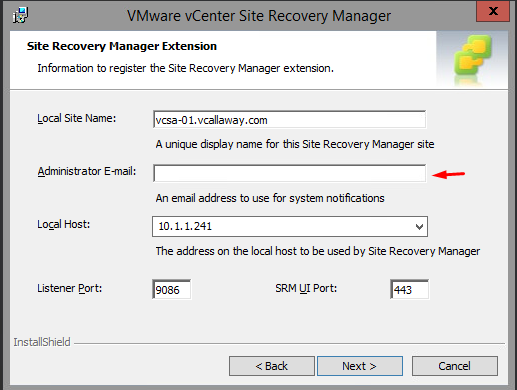
Enter a valid email address.
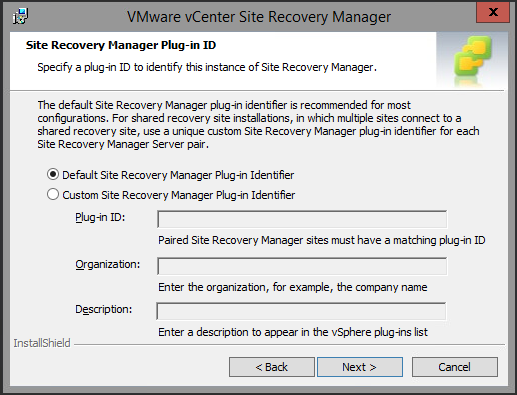
Use Default Site Recovery Manager Plug-in ID.
Generate new SSL Certificate. If we’re not using a trusted internal CA.
Enter the information about the Organization.
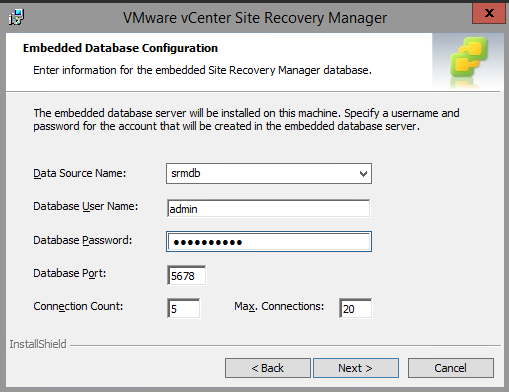
Select where the database should reside. I’m going to select internal Postgres since it’s a lab.
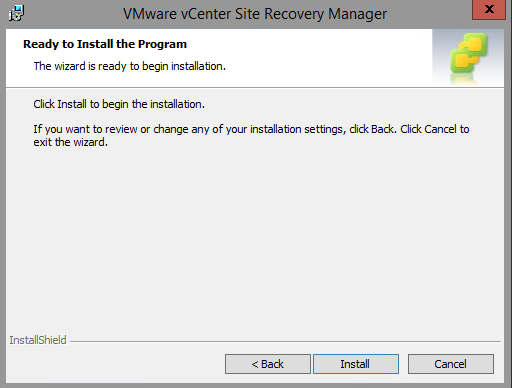
And now we can finally get the installation started.
Once this completes, let’s head back over to the vSphere Web Client and navigate to:
Menu > Site Recovery and should see the following: Be sure to log out and log back in if it does not show up
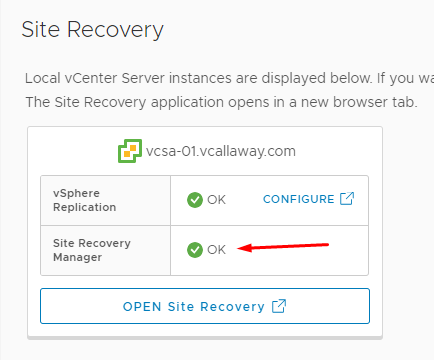
Success. We will hold off on configuring this side (Site 1) and we will run through the deployment and installation of vSphere Replication and Site Recovery Manager in the same exact way we did in Site 1 as we will in Site 2.