This is Part 2 of the vSphere Site Resiliency Using vSphere Replication, SRM and NSX series. If you missed Part 1 of the series you can find it HERE.
In this post we’re going to deploy vSphere Replication in Site 1 (Bora Bora).
Let’s begin…but before we do. Use the Web Client if you’re not using vSphere 6.5 Update 1. The HTML 5 Client doesn’t allow for the vCenter Extension vService to import the needed files to successfully deploy the OVF.
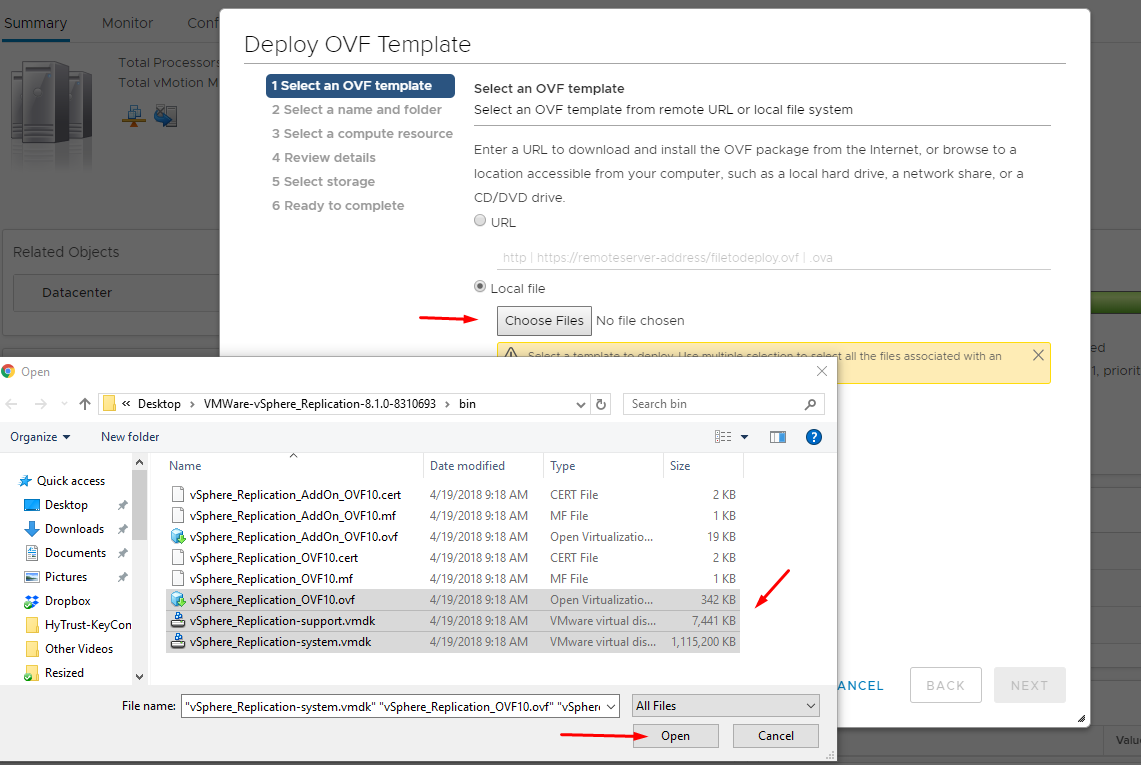
Step 1: Unzip the ISO into the OVF and hard disks.
Step 2: Deploy the OVF
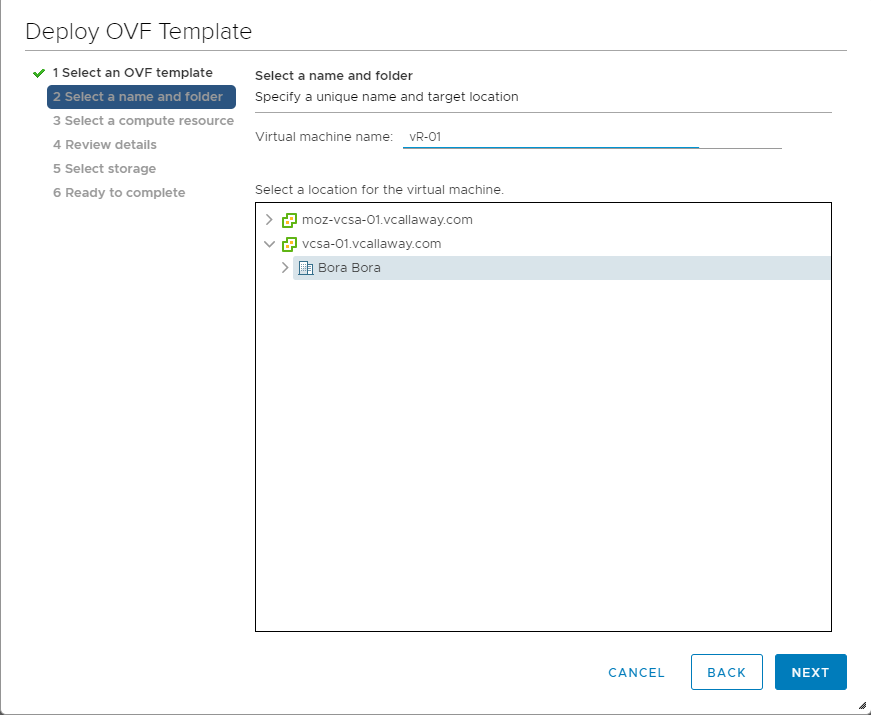
Step 3: Give VM a Display Name and Select the Location.
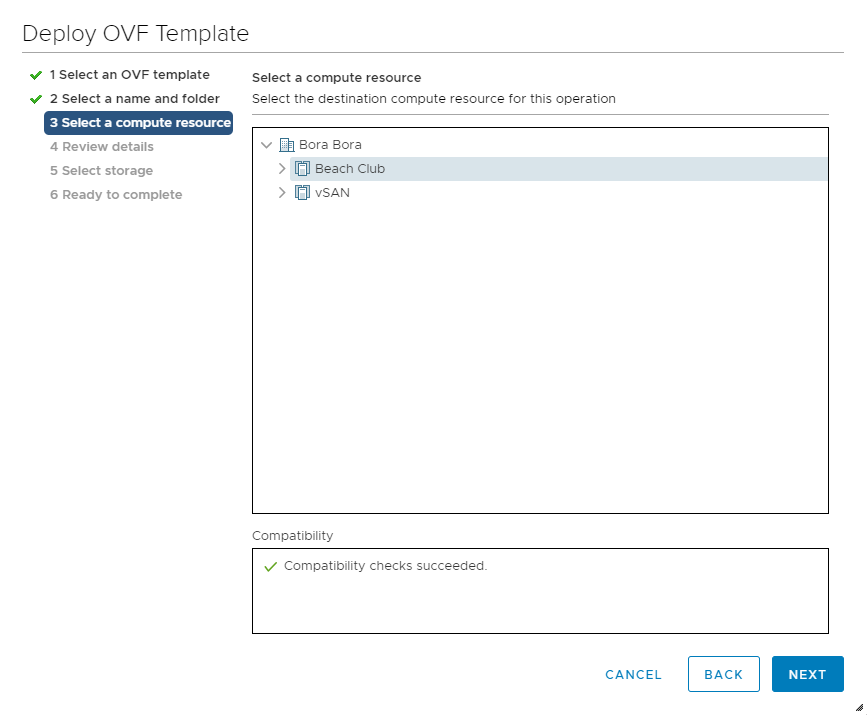
Step 4: Select a compute resource
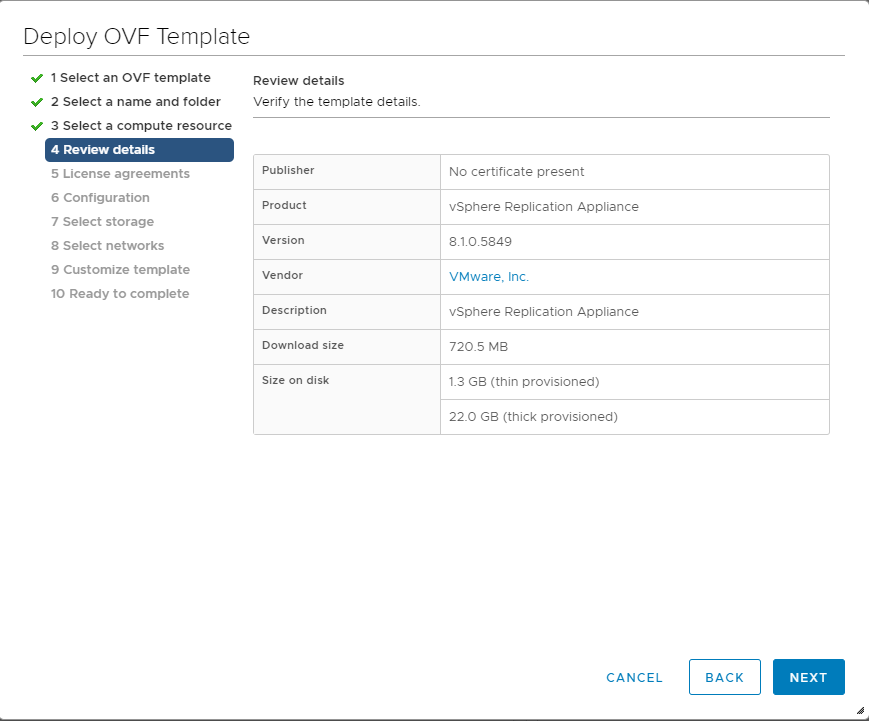
Step 5: Review Details
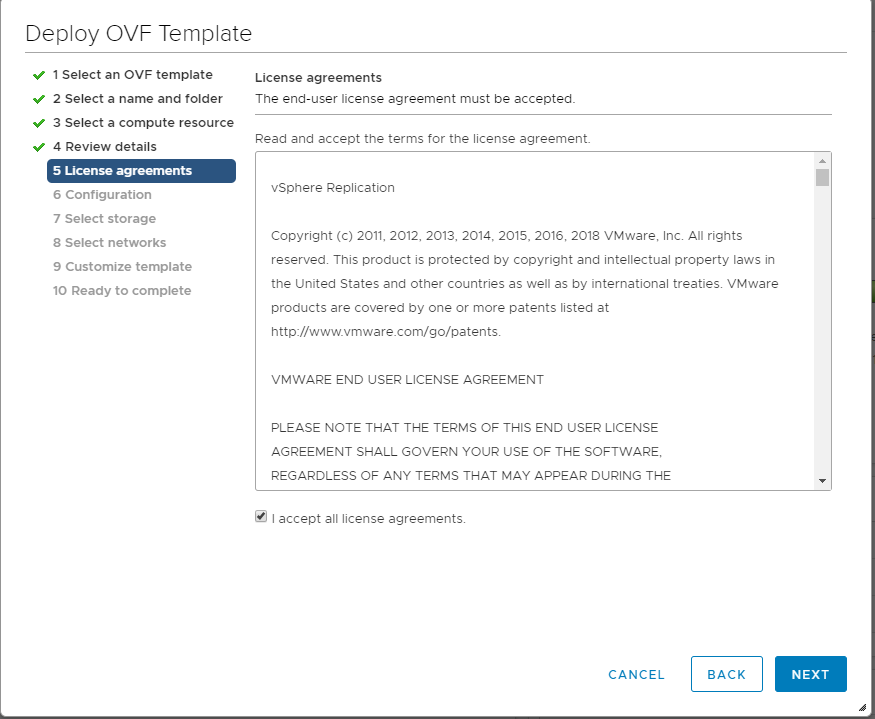
Step 6: Agree to License (If you do).
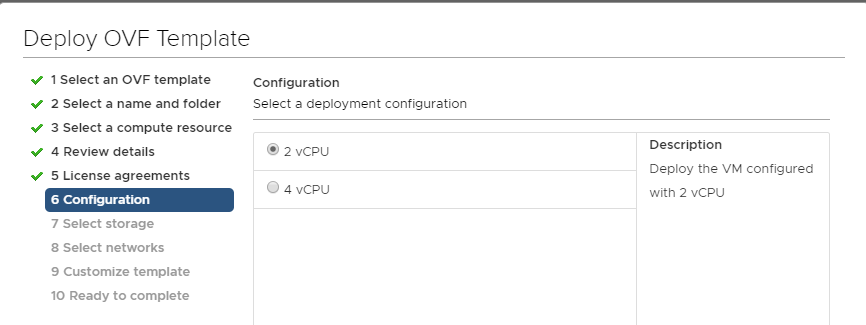
Step 7: How many vCPUs do you want? I’m going to choose 2 for this home lab.
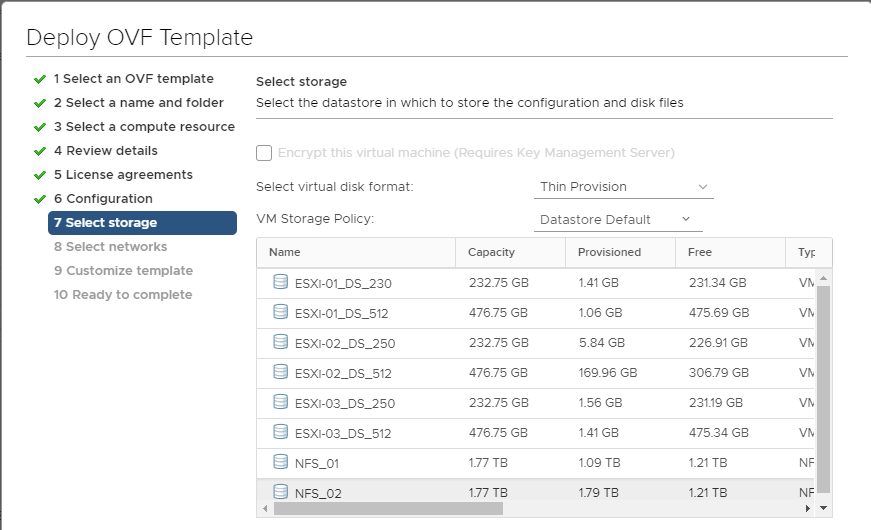
Step 8: Select OVF placement (datastore)
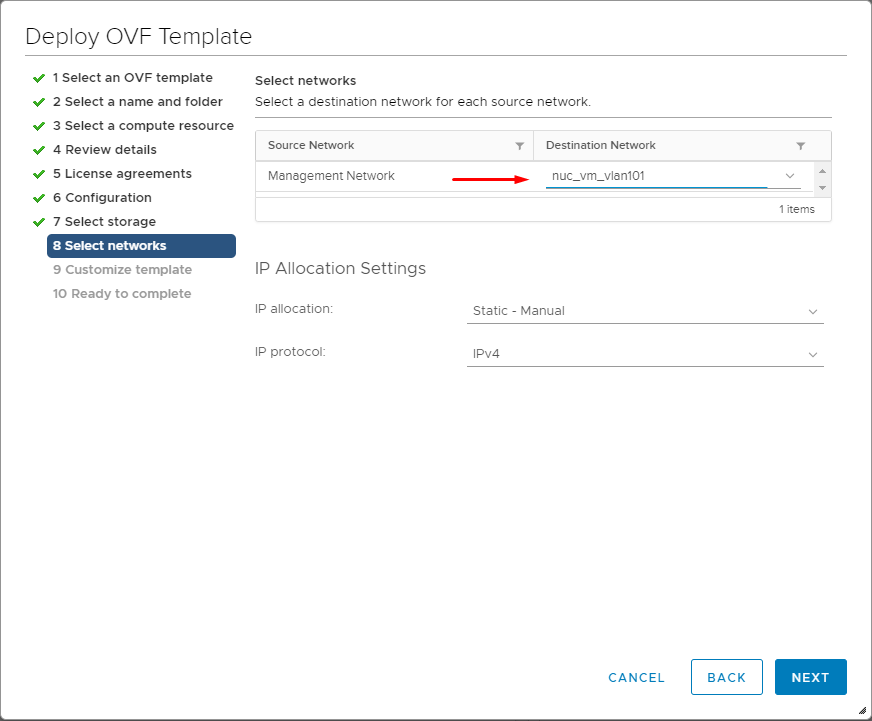
Step 9: Select the Network
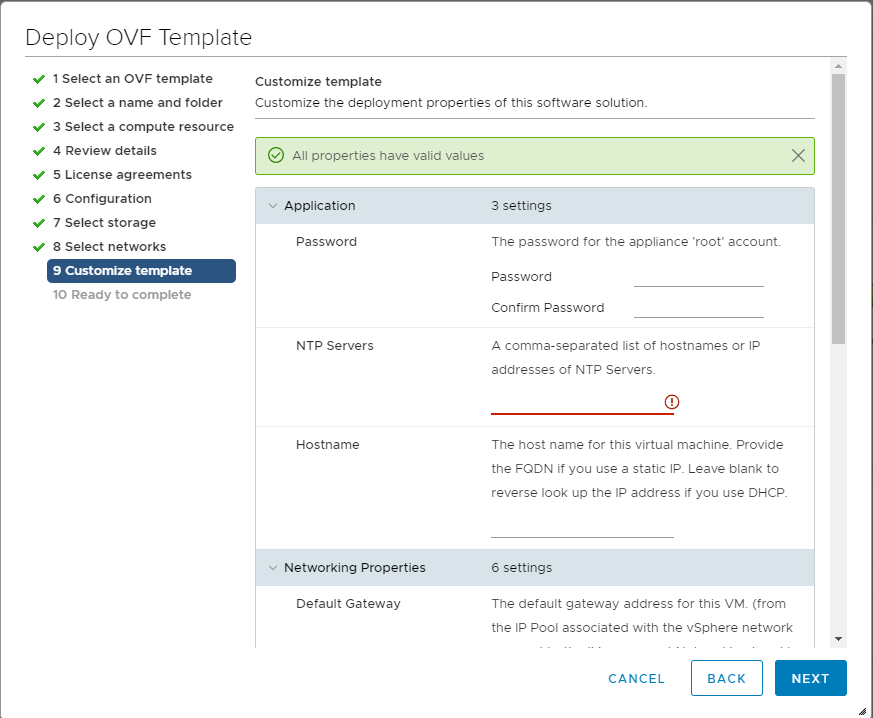
Step 10: Customize the Template (Hostname, IP addresses, Password)
**Note – Make sure you have forward and reverse DNS lookup if you’re going to use Static IP addresses (which you should).
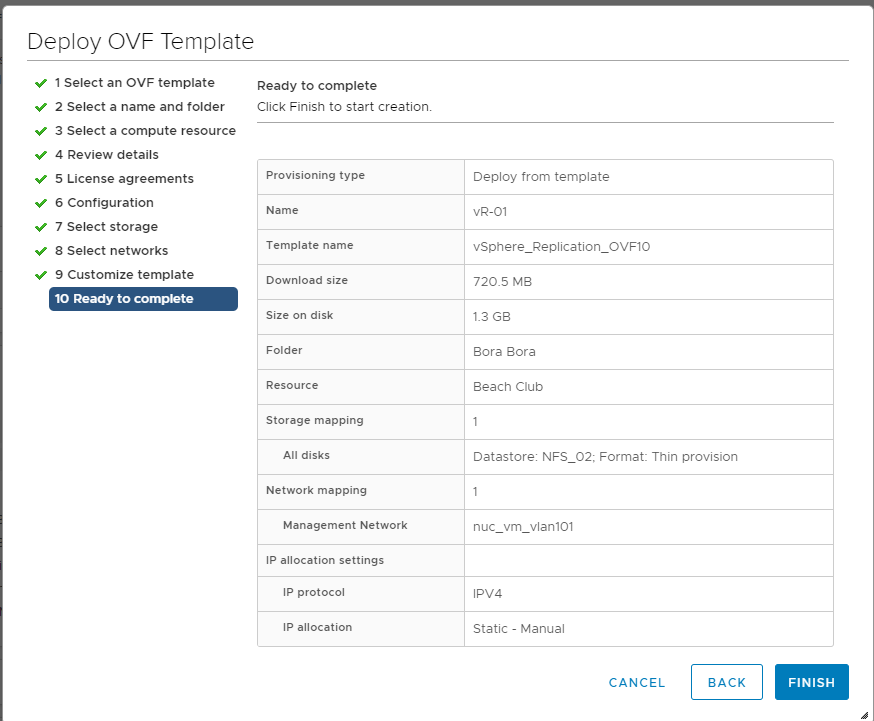
Step 11: Review and deploy the OVF.
Now that is is done, let’s Power On the virtual machine and allow it time (approximately 5-8 minutes depending on your setup) and we’ll log into the appliance via the VAMI.
https://IP_or_hostname:5480


