Part 1: Backup the vSphere VCSA 6.5 Appliance
In this post we are going to cover how to backup and restore the VCSA using the native backup function built directly into the appliance. Before vSphere 6.5 we were unable to natively back up the appliance. This new feature isn’t overly complicated or even compicated in itself but there are some things that we need to understand to get the most out of this new feature.
For example, when you’re backing up the VCSA it’s not actually backing up the whole appliance but only backing up only the information needed to restore to a new freshly build VCSA for the restore process. We will touch more on that once we get there.
VCSA Features & Facts:
- Native file-based backup compatible with both an embeded deployment and external deployment
- Backup transmission supports secure protocols such HTTPS, SFTP and SCP.
- Can backup while online.
- Wizard based backup & restore
Let’s get started.
Configuration
- (1) ESXi 6.5 Host
- (1) VCSA 6.5 Appliance
- (1) FTP/SFTP/HTTP/S Server
Backing Up The VCSA
Let’s head over to the Appliance Management Page
https://vcsa_IP:5480
And we need to login with the username of ‘root’ and the password supplied during the VCSA deployment.
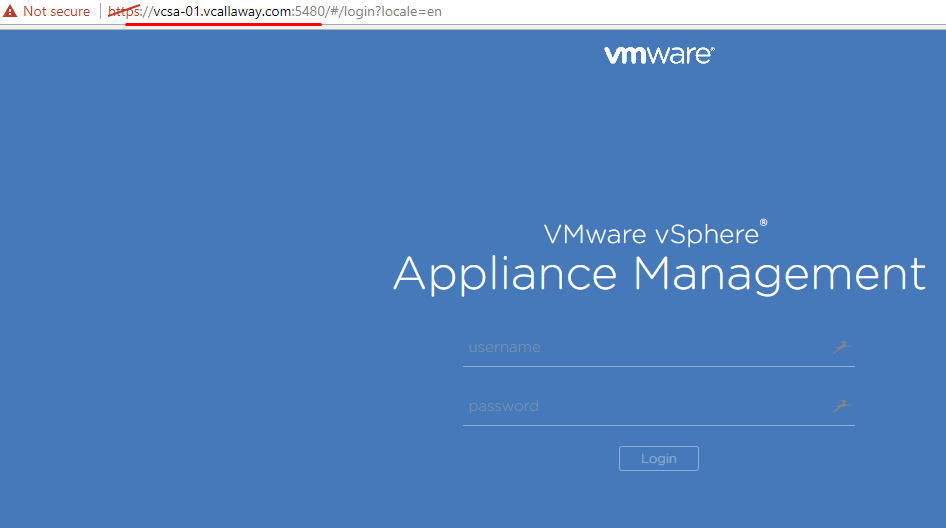
Once logged in, click on the Backup button and go through the next steps.
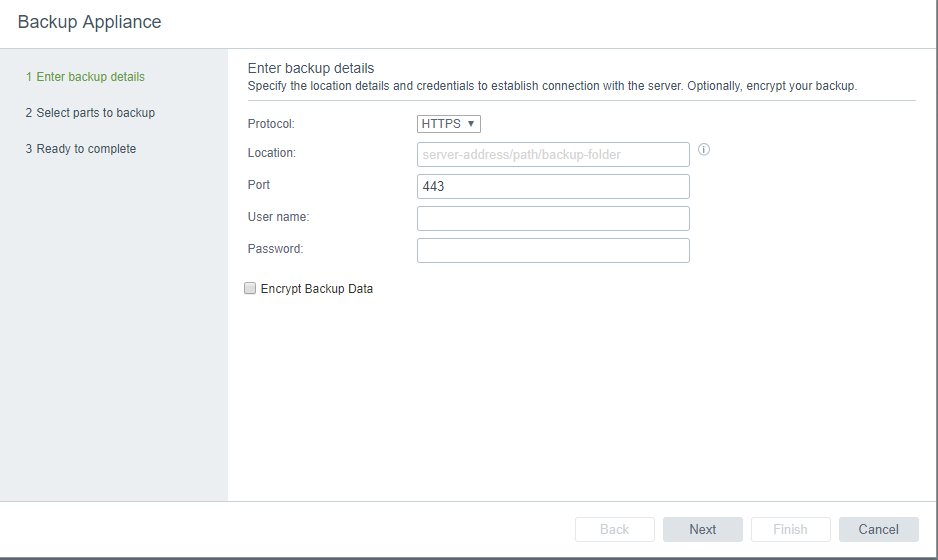
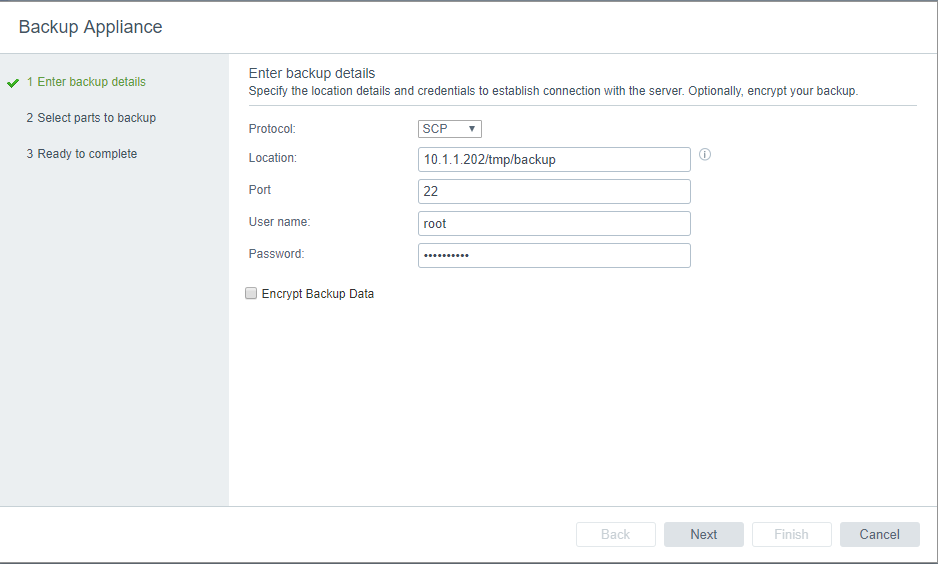
Now we need to select our backup target. We can choose from HTTPS, HTTP, FTP, SFTP. If you need assistance with the proper location format using the little circle next to the location field for guidance.
Select your protocol, location/path, port and credentials.
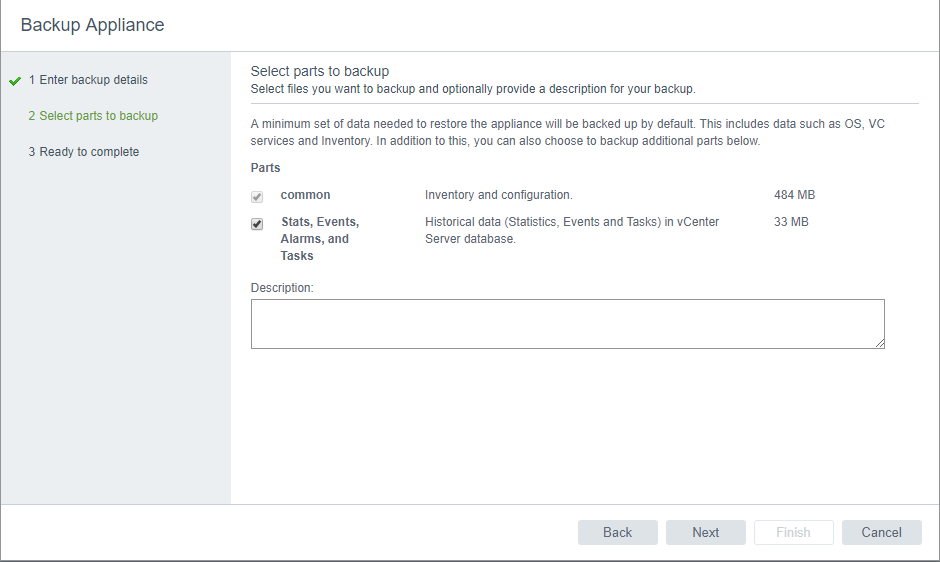
Here you can choose what to backup. Common must be selected since that’s the configuration data for the VCSA, optional is the stats, events, alarms etc…
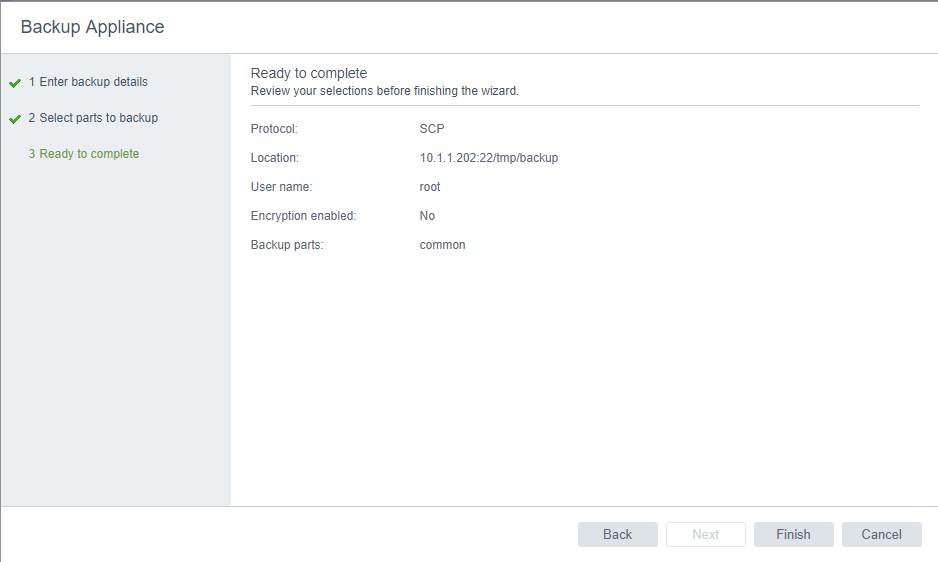
Verify, and continue with the backup by clicking on Finish.
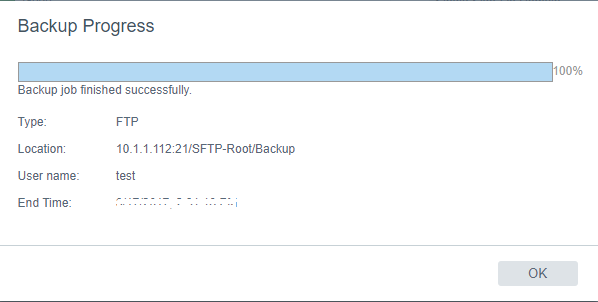
Once complete you’ll have a fresh backup.
Note: Disregard the screenshots showing SCP and FTP. My SCP backup was failing (probably due to a bad target) so I just switched to FTP for this tutorial. Just remember, the process is the same for all protocols.
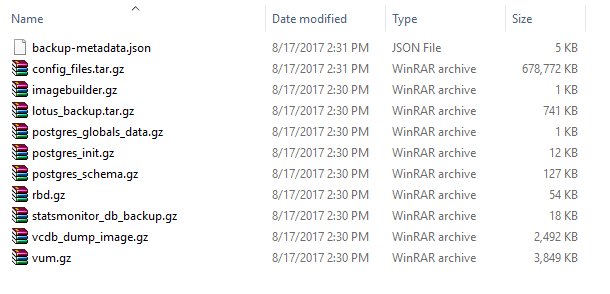
Here’s what the file structure looks like
Now it’s time to restore. Follow along here for the Restore process.


