In the previous post we deployed the NSX Manager from the OVA template. Now that the appliance has been deployed we need to finish configuring it and integrate it with our vCenter Server.
Let’s get started.
Step 1: Log into the NSX Manager Web GUI using username ‘admin’ and the password chosen during the OVA deployment.
https://hostname_ip_nsx_mgr
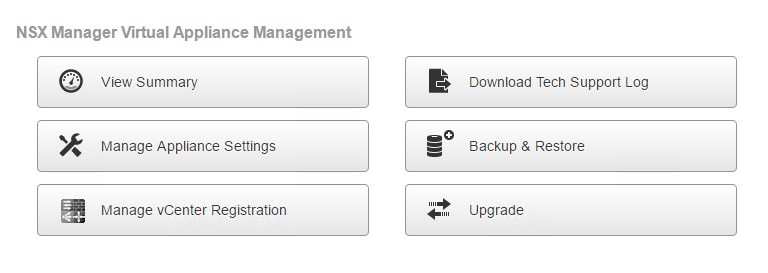
Once logged in, we’ll be presented with the following screen which we will select ‘View Summary’ to verify if the services are running.
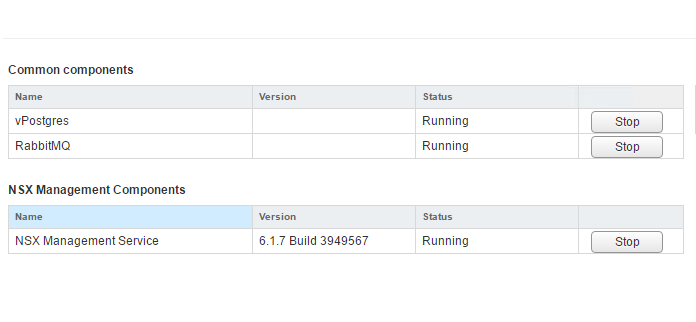
Step 2: Check the services
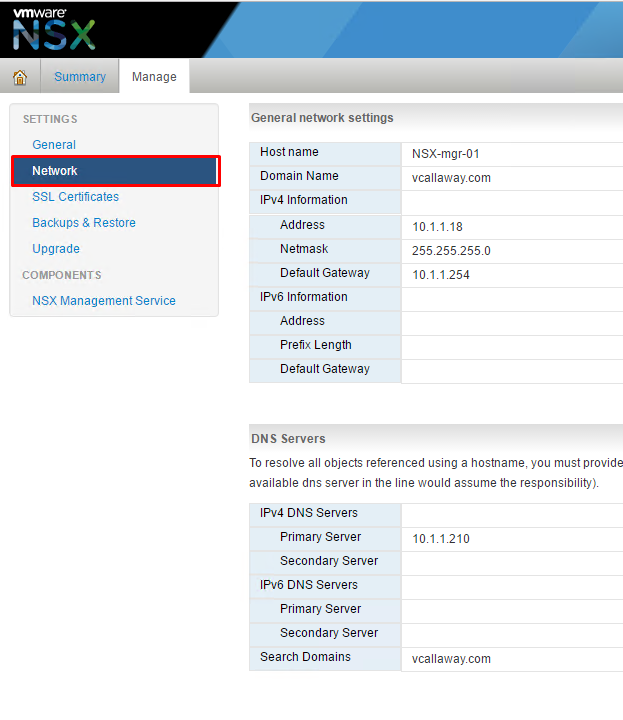
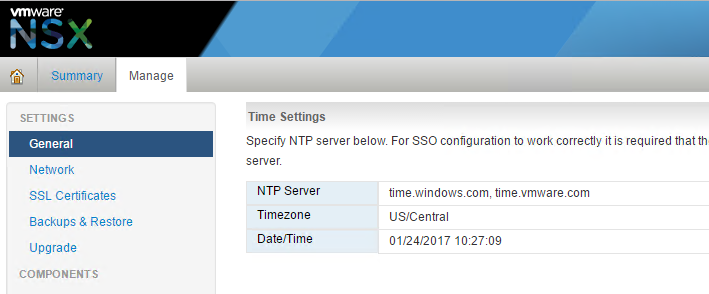
Step 3: Verify that all the network IP are configured and NTP is set correctly. This is an important step, if missed integration into vCenter will fail.
For Network Values: Click ‘Manage‘ then ‘Network‘.
For NTP: Click ‘Manage‘ and ‘General‘
** Note ** – If any values are changed at this point, a reboot of the appliance will be necessary for the changes to take effect.
To reboot, navigate to the top right of the screen and click on the gear icon and select ‘reboot appliance’.
Step 4: Configure NSX to communicate with the vCenter Server
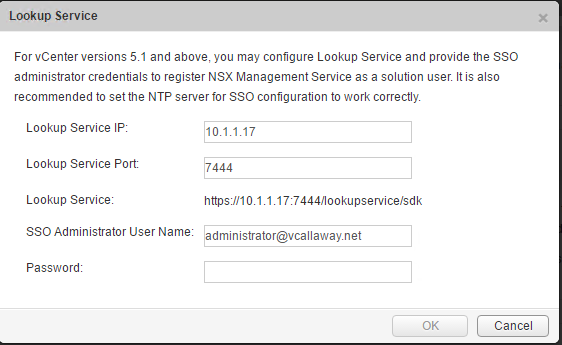
Enter the information to vCenter. If there’s an issue with the certificate change the port from 7444 to 443.
VMware KB Article: STS Service cannot be verified
The Lookup Service is now complete.
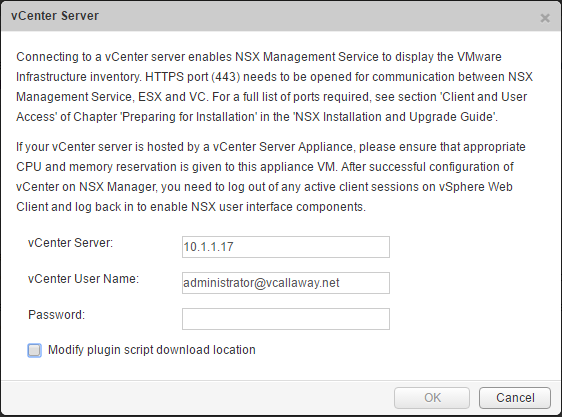
Step 5: vCenter Server integration
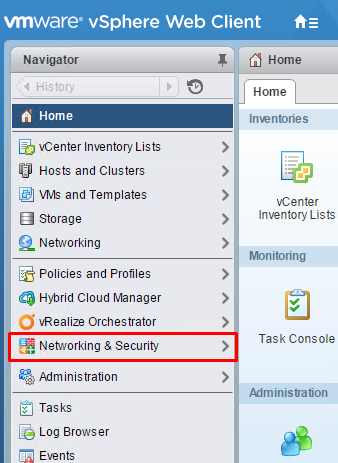
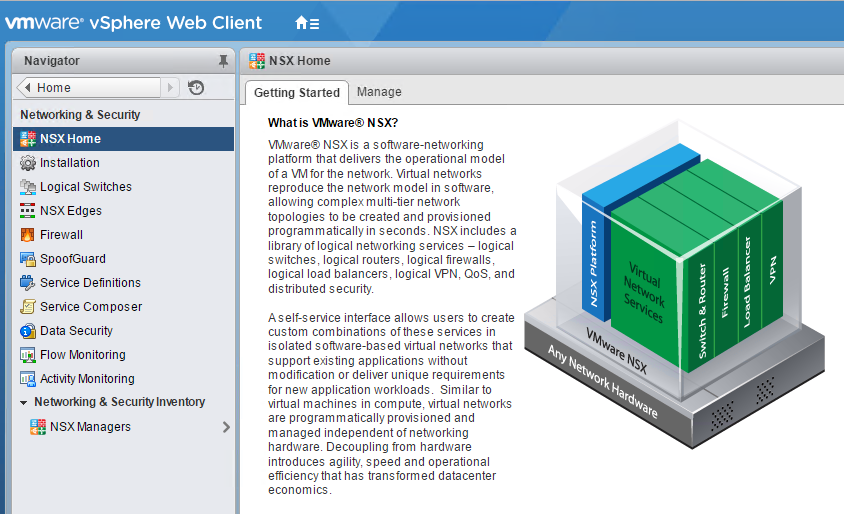
vCenter integration is now complete. We will need to head over to the vSphere Web Client and we should find ‘Networking and Security’ as a new option for us. If currently logged in, log out and log back in. Note that it may take several minutes for the new tab/options to appear.
In our next post we will deploy the NSX controllers and prepare the ESXi hosts. Stay tuned!


