In this tutorial we will be installing and configuring vRealize Operations Manager for vSphere. The installation is a pretty straight forward deploying using an OVA package. Let’s get started…
First we’ll need to make sure we download the OVA template from VMware. I’ve already done this, so let’s get to the deployment steps.
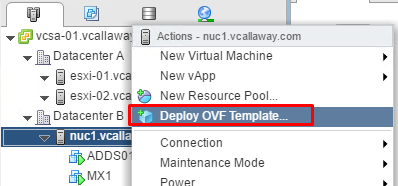
Right click on the cluster/host we want to deploy the vApp to and select ‘Deploy OVF Template’.
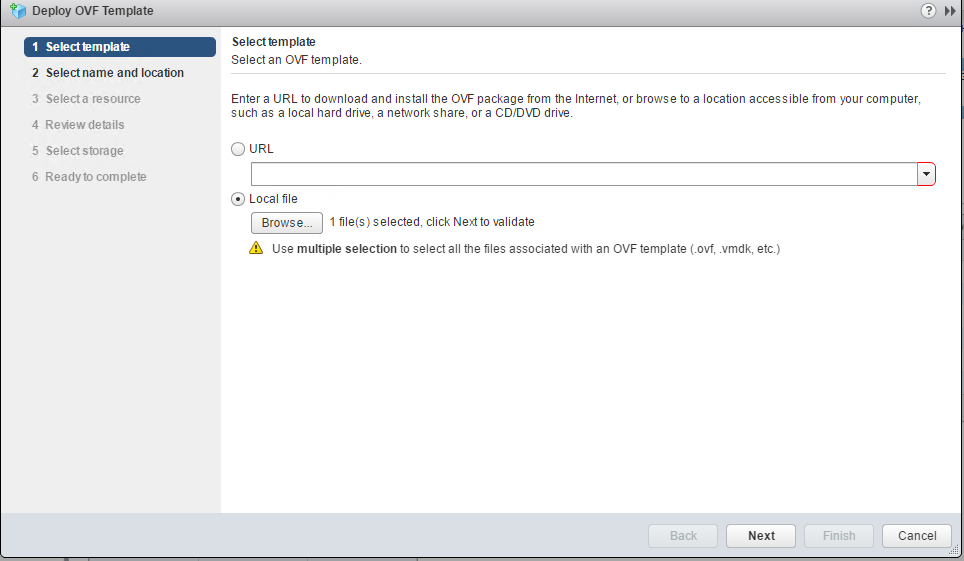
Browse to the OVF file on your local workstation or use a URL to grab the package. I’m using a local file so I’ll select that option.
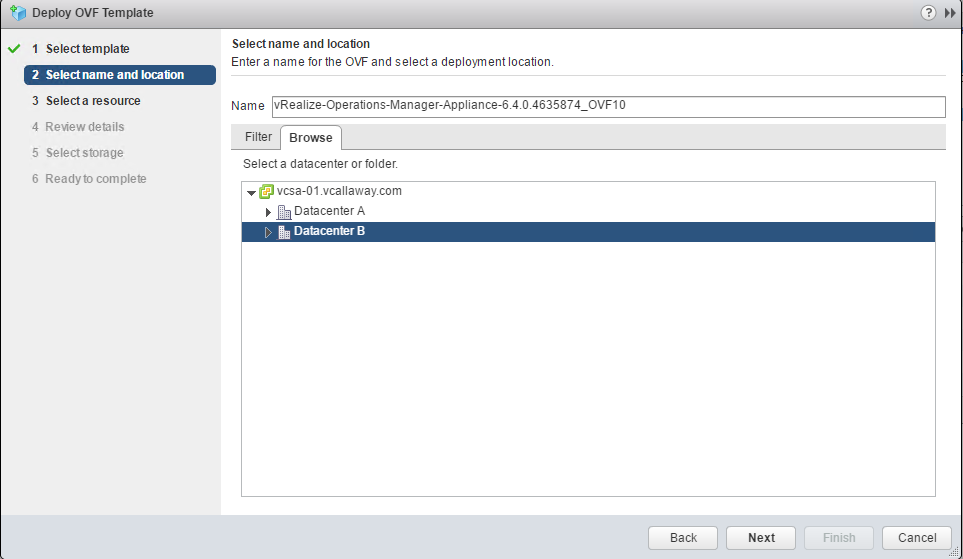
Select the Datacenter and the display name we want to give the new VM.
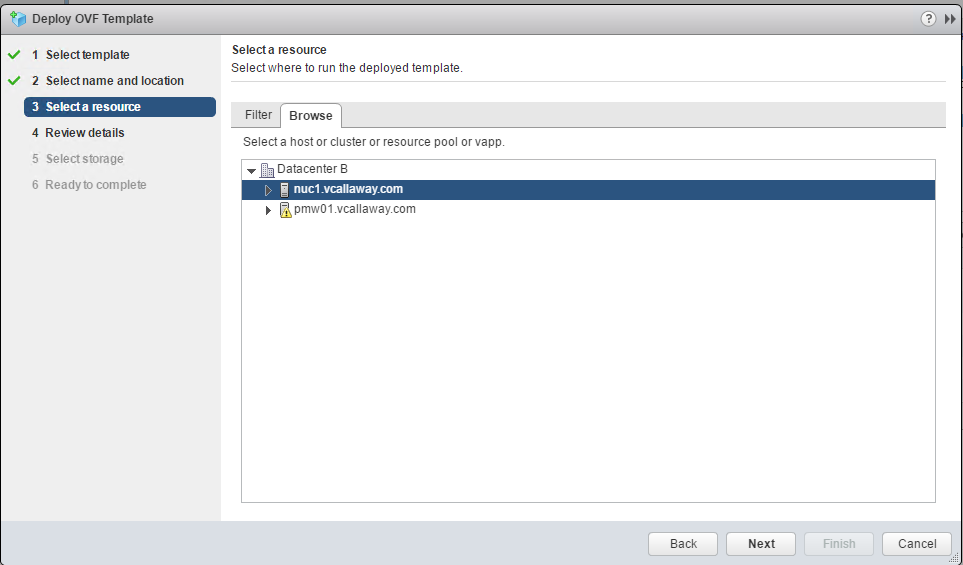
Select the host within the desired Datacenter
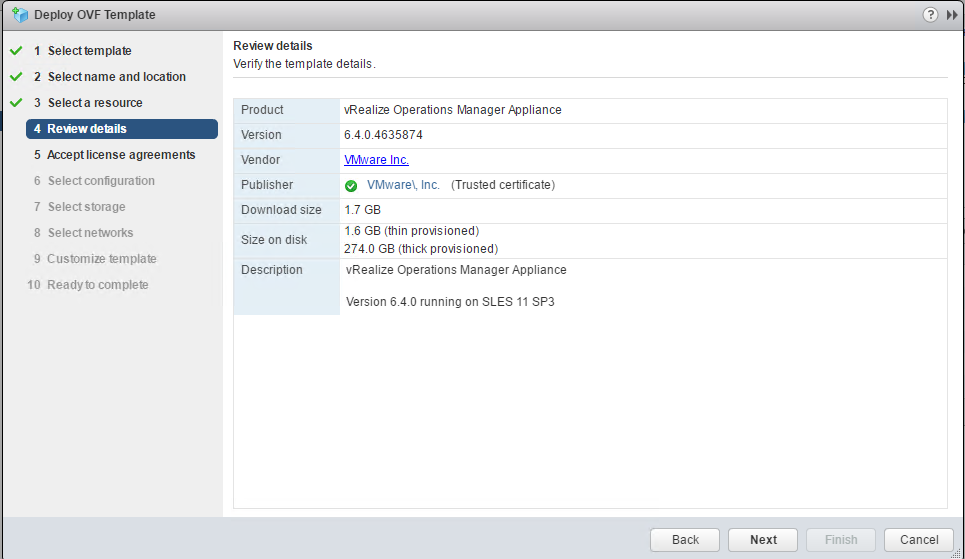
Continue through the set steps in the list.
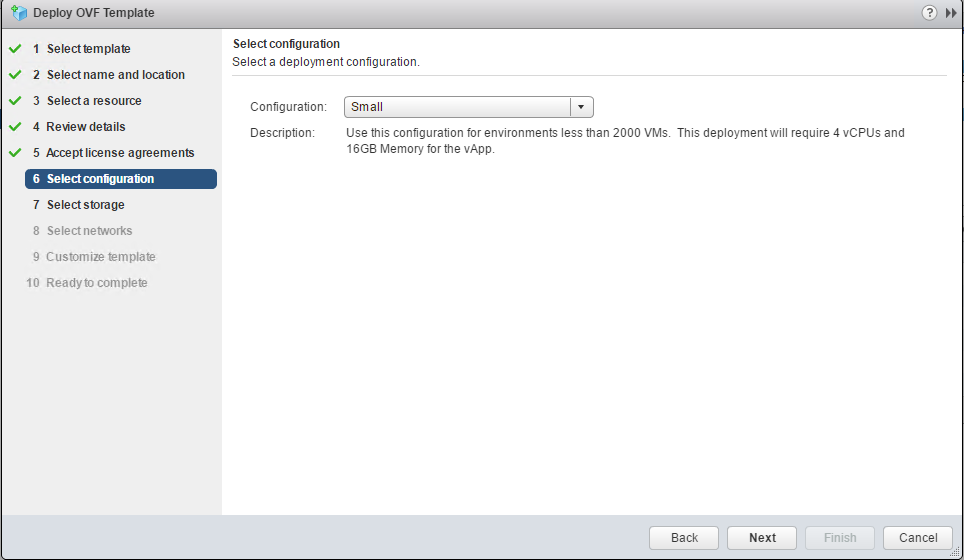
Choose the deployment size.
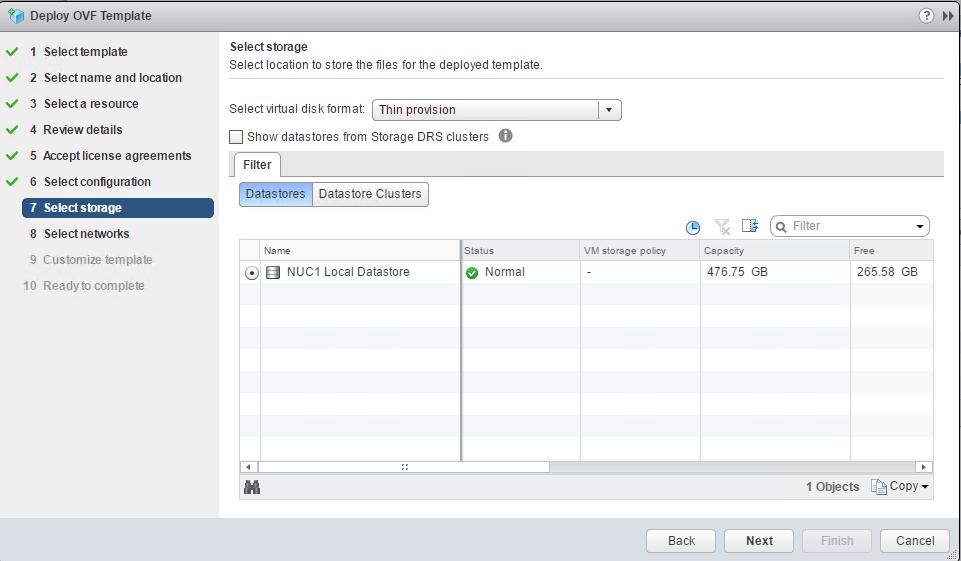
Select the datastore where vRealize will reside.
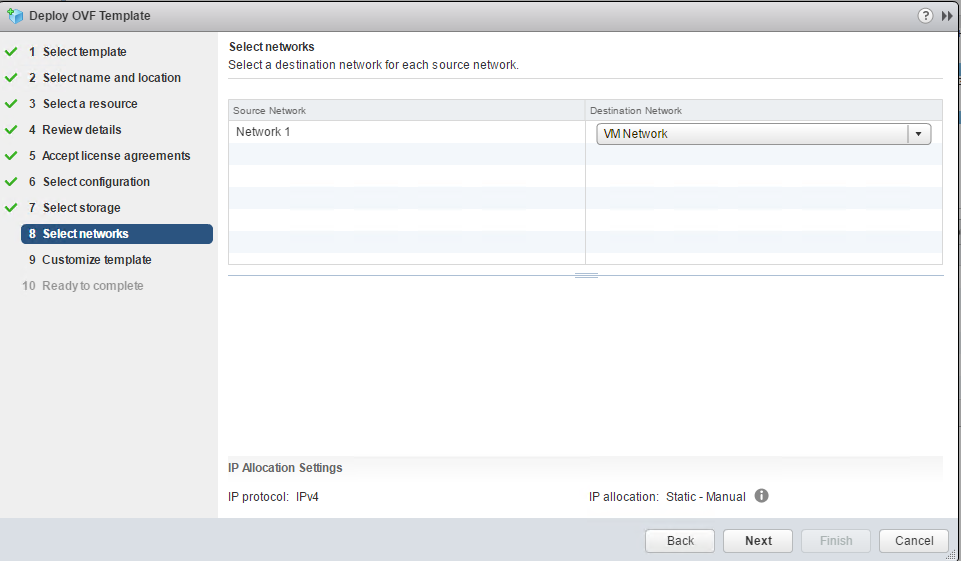
Select the network.
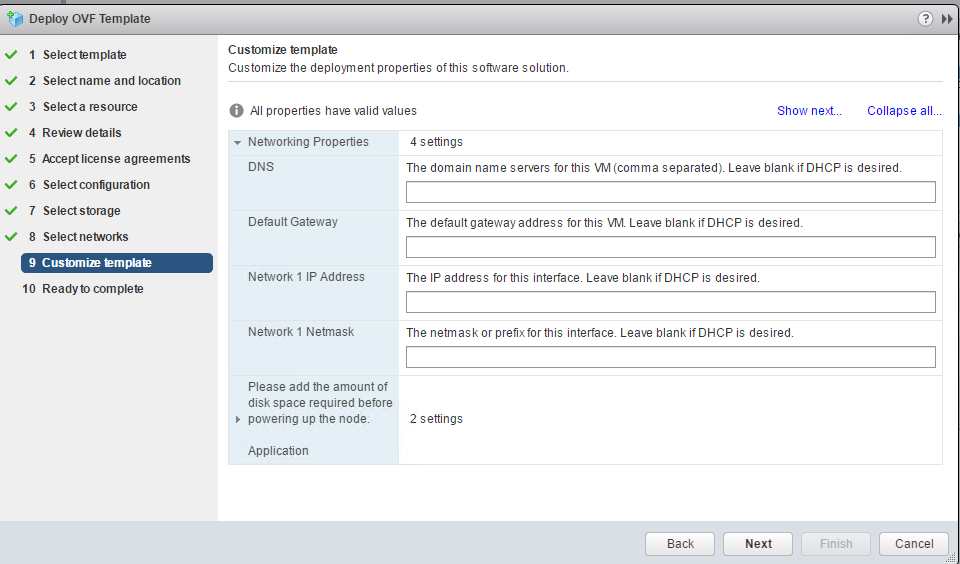
Enter all the networking information for the appliance. Now’s also a good time to create a DNS record for the hostname of the appliance.
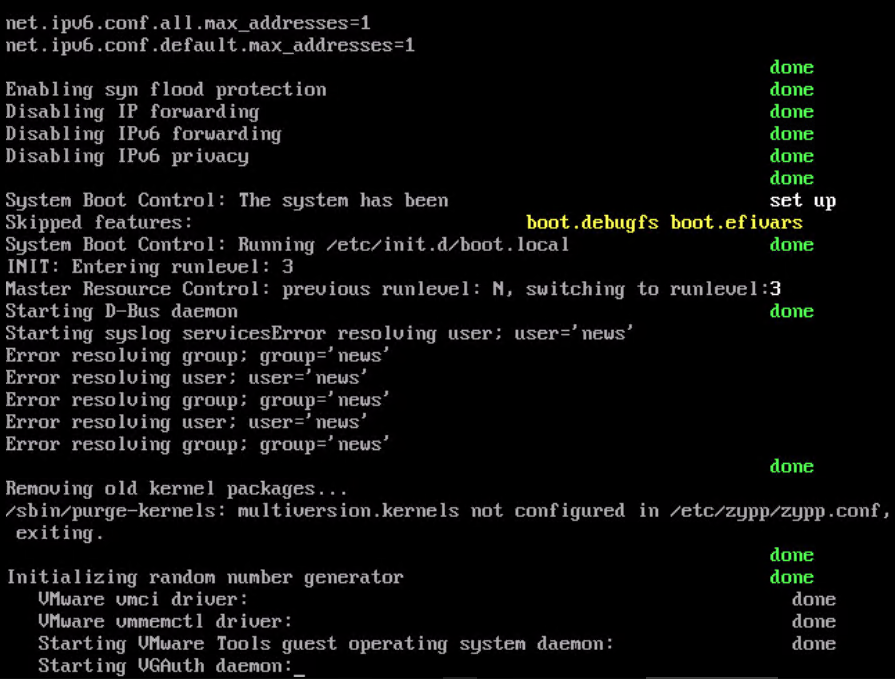
Once deployment is complete. Power on the appliance and wait for it to complete it’s boot up process.
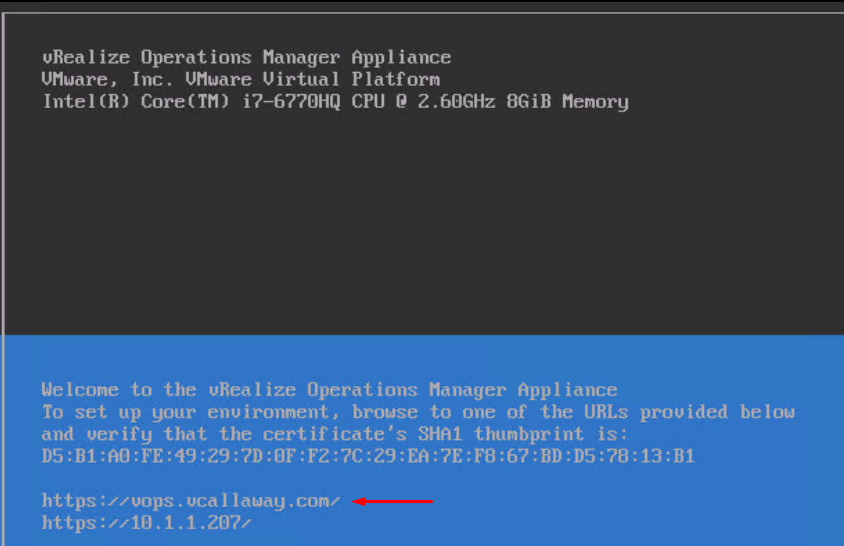
Once complete, we’ll see a screen similar to this. We need to browse the the hostname (if DNS is setup) or IP to finish the configuration.
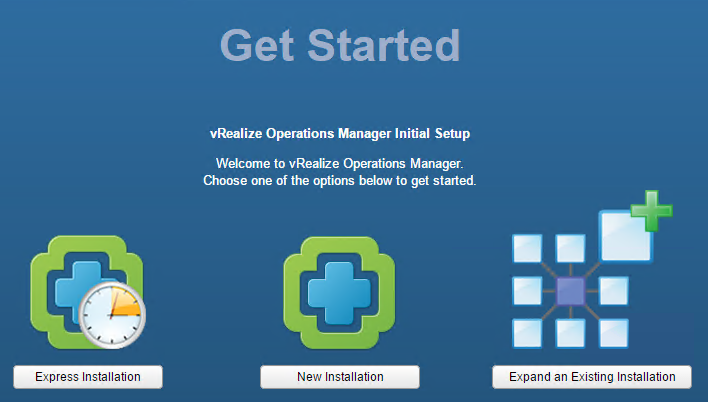
Browse to the URL and we need to choose which option we’re going to go. Let’s choose ‘New Installation’ since this is a new installation.
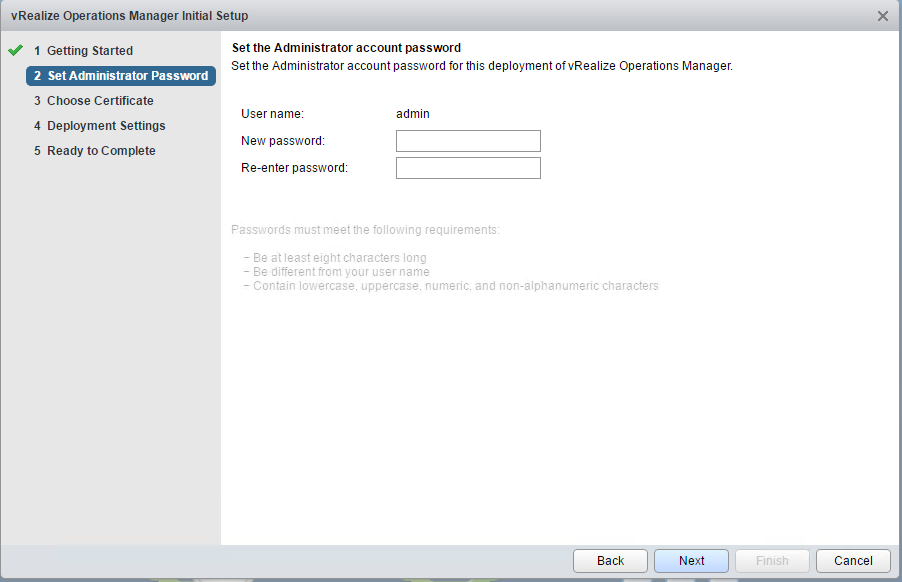
Set a new password for the admin account.
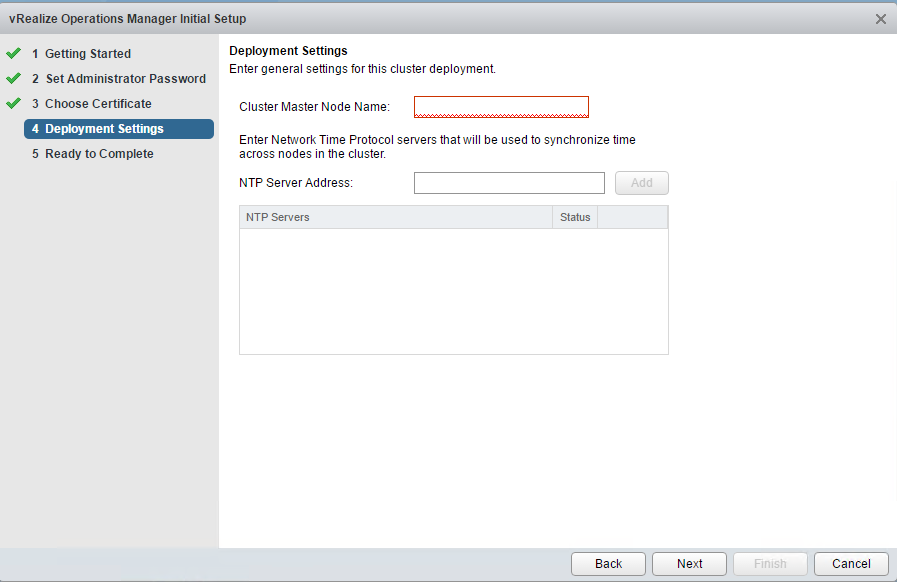
Name the Cluster Master Node Name and give the appliance a NTP server so we can keep the time in sync.
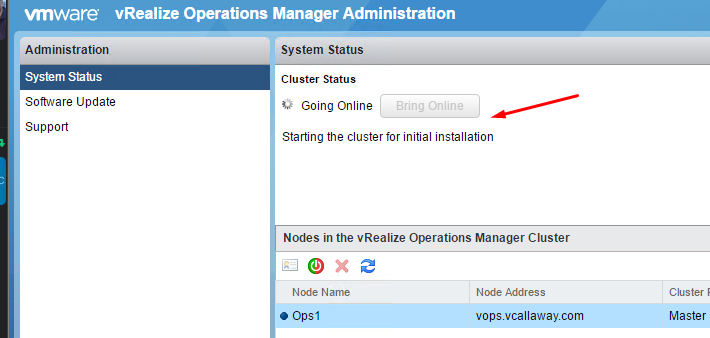
Once complete. We’ll let the vApp to continue to configure itself. This may take several minutes so be patient.
Once the initial configuration is complete, click on ‘Bring Online’ and allow time for the appliance to finish the initial configuration. Once this is complete, you’ll be logged out (this is normal).
Log back in and see Part 2 of Installing and Configuring vRealize Operations.


