Objective 8.1 Topics:
- Describe the components and architecture of an Auto Deploy environment
- Use Auto Deploy Image Builder and PowerCLI scripts
- Implement Host Profiles with an Auto Deploy of an ESXi Host
- Install and configure Auto Deploy
- Understand PowerCLI cmdlets for Auto Deploy
- Deploy multiple ESXi Hosts using Auto Deploy
- Given a scenario, explain the Auto Deploy deployment model needed to meet a business requirement
Components and architecture of an Auto Deploy environment
DHCP Server – To obtain IP address and boot options
TFTP Server – Host/Get image boot files
Auto Deploy Server – Server to operate AutoDeploy
VMware PowerCLI Console – Admin utilize to interact with Auto Deploy
We need to do some prerequisites before we get started. We need to configure our DHCP server. If the service/role is not installed, go ahead and install it.
I’m going to use my Domain Controller since it’s already there.
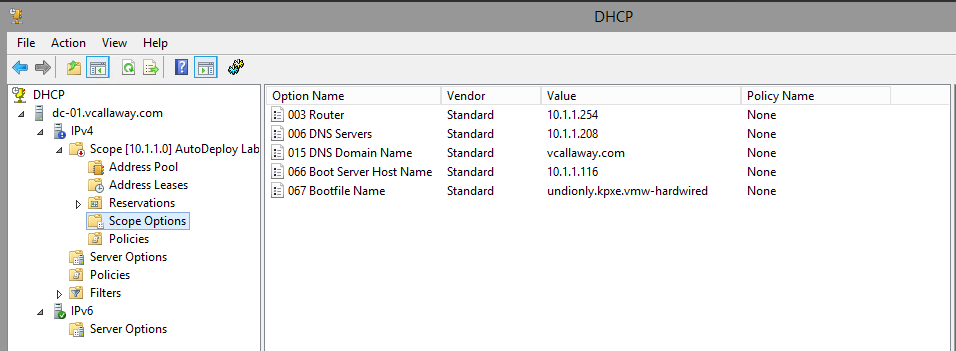
We need to configure our scope options
**Make sure your DHCP Server is authorized and activated. Mine isn’t yet since I have another one on the same network that I will turn off while we perform this objective.
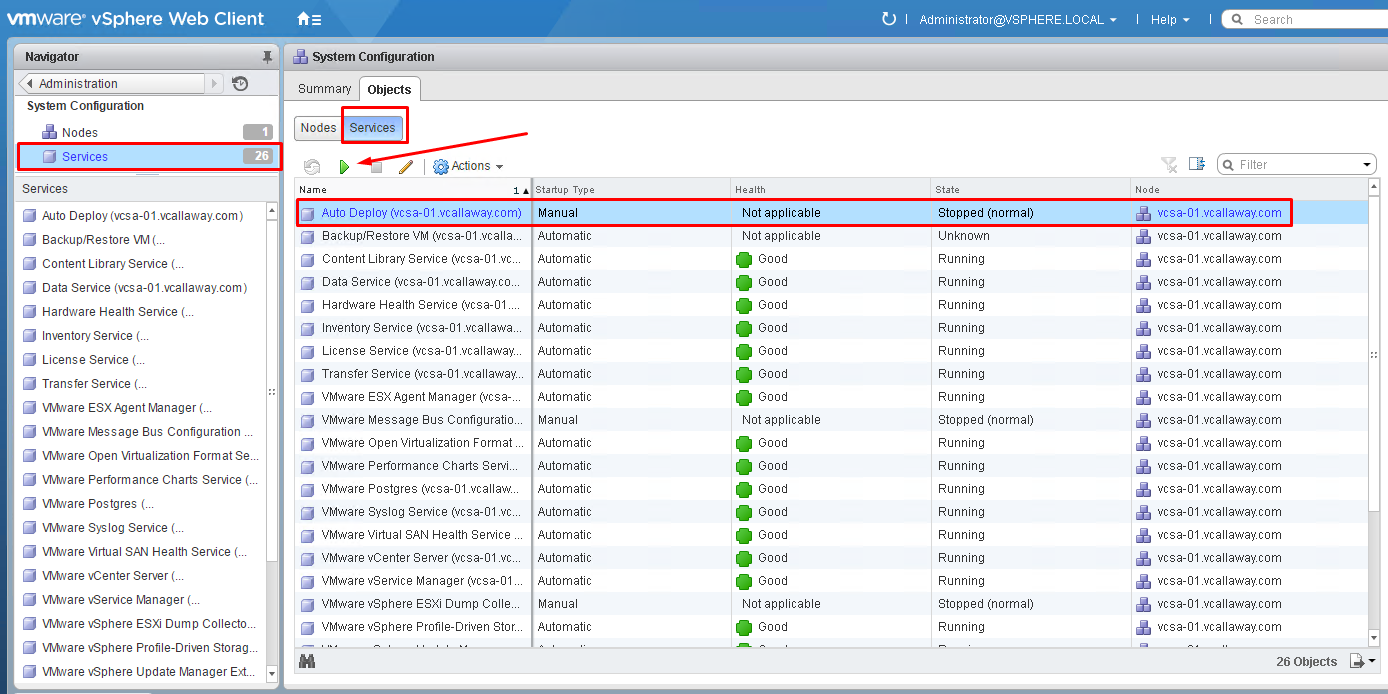
Enable AutoDeploy
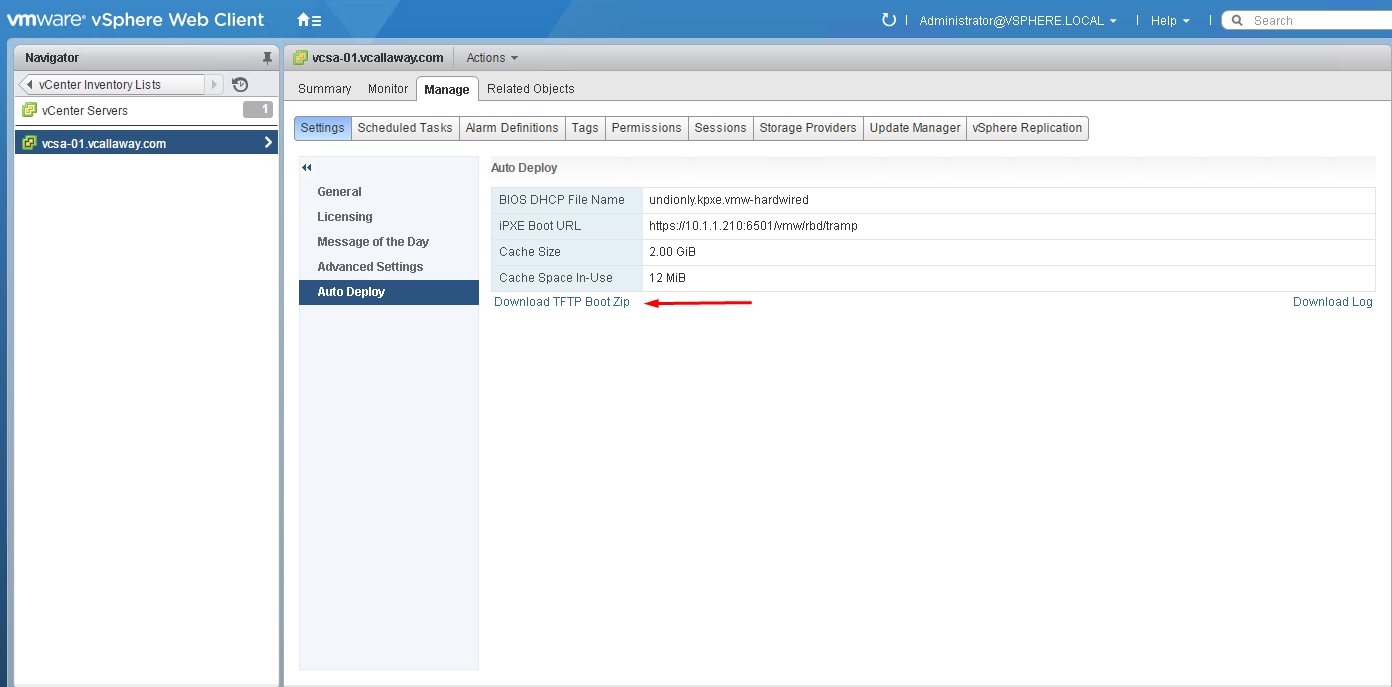
Confirm AutoDeploy is enabled and download the TFTP Zip Boot File
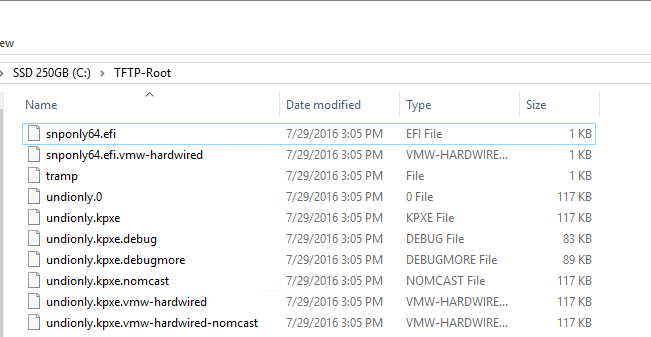
Unzip the ZIP file and place the contents in the root TFTP folder. I’m using SolarWinds TFTP Server, it’s a free download.
Configure VMware PowerCLI
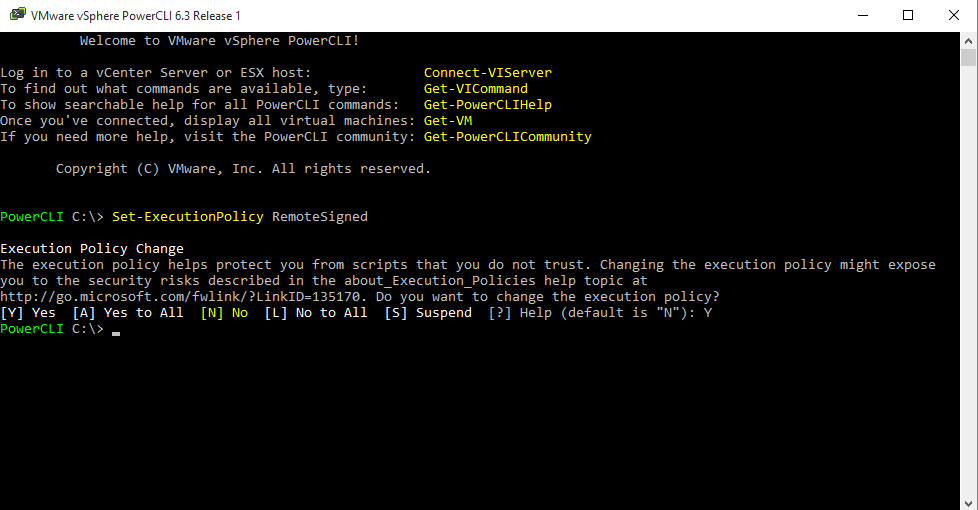
Install the application. Run it as ‘Administrator’, and issue the command
“Set-ExecutionPolicy RemoteSigned” (no quotes). We need to do this to be able to run our scripts.
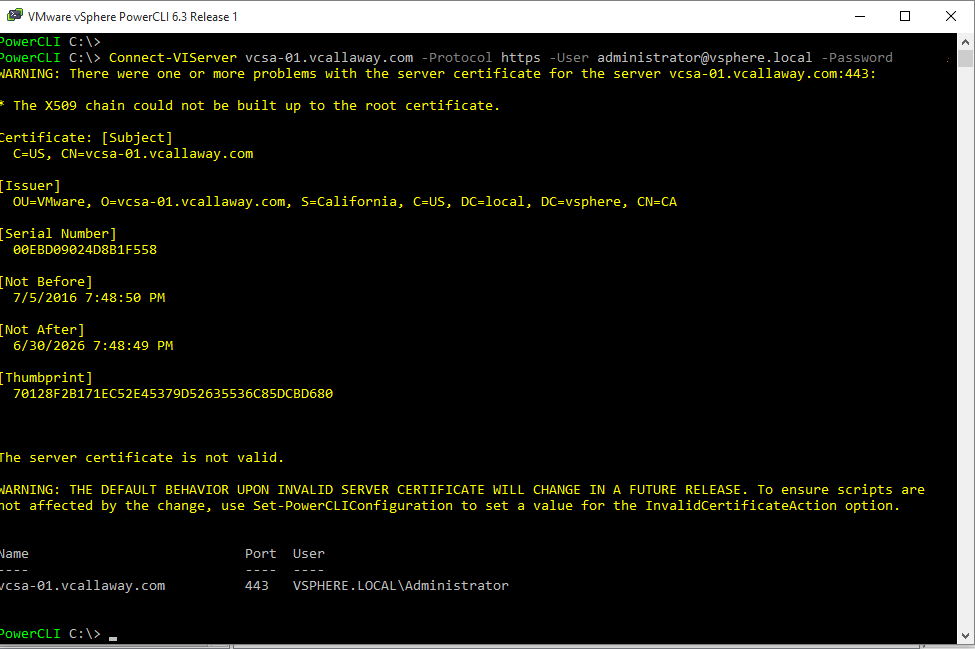
Connect to the vCenter Server
I’m using a self-signed certificate so we will get a warning but that can be ignored.
We are now connected to the vCenter Server.
Connect to the VMware Online Software Depot
Add-ESXSoftwareDepot https://hostupdate.vmware.com/software/VUM/PRODUCTION/main/vmw-depot-index.xml
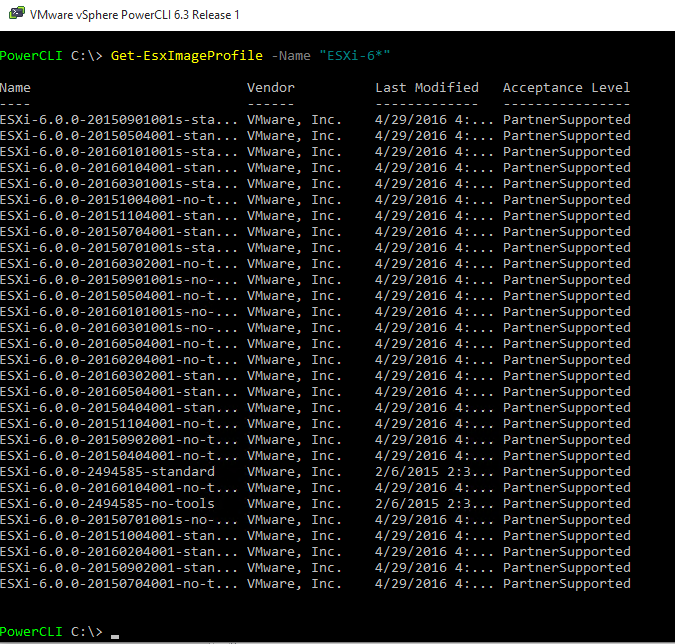
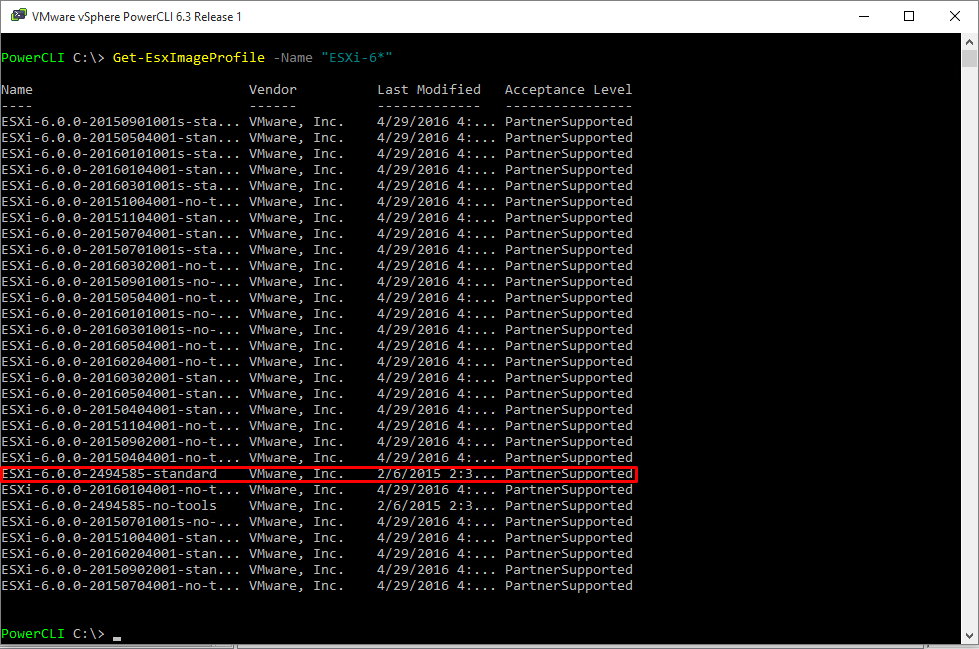
Get list of available Images and Downloads
Make sure you put an asterisk behind the name so you don’t miss any images.
Let’s download the image we need
Export-EsxImageProfile -ImageProfile ESXi-6.0.0-2494585-standard -ExportToBundle -FilePath C:\TFTP-Root\ESXi6.zip
Change your download destination path accordingly.
Once done downloading, disconnect from the Online Depot.
Get-EsxSoftwareDepot | Remove-ESXSoftwareDepot
Now we need to connect to our local depot
Add-EsxSoftwareDepot C:\TFTP-Root\ESXi6.zip
Create a Rule to use for AutoDeploy
New-DeployRule -Name “ESXi6 Install” -item “ESXi-6.0.0-2494585-standard” -Pattern “ipv4=10.1.1.150-10.1.1.175”
Add the new deploy Rule
Add-DeployRule -DeployRule “ESXi Install”
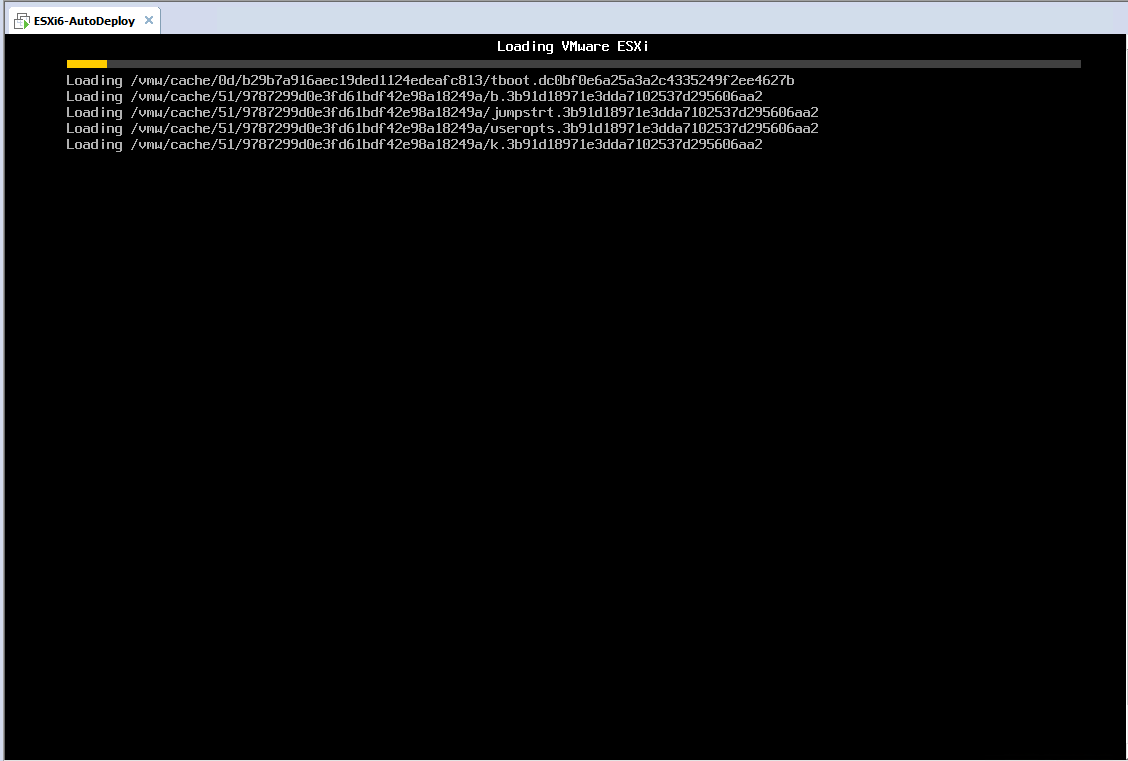
Start up a new host.
I’m using VM Workstation. If you use Workstation, make sure you get your NIC to ‘bridged’ mode or it will not work.


